Out-of-game management
- Guide
- Parent/Teacher
Here parents or teachers can manage the content of children's game courses and host multiplayer games.
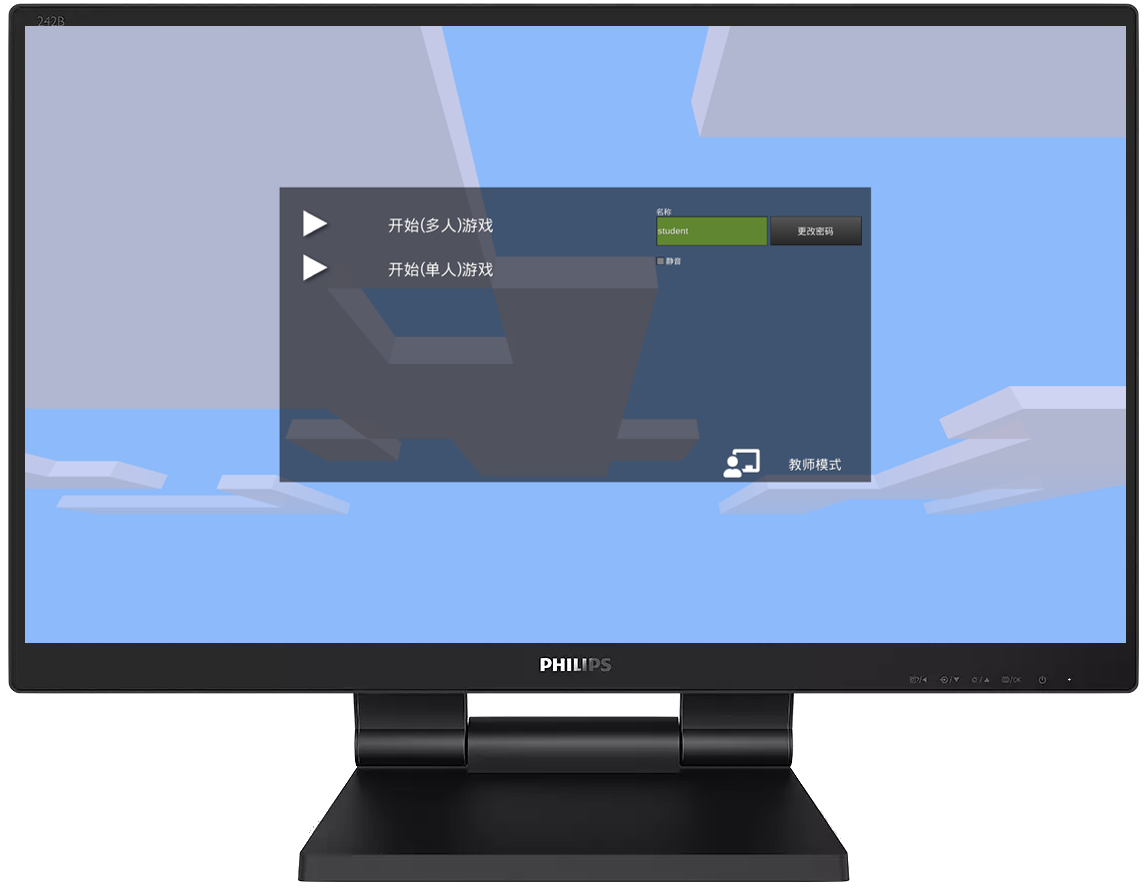
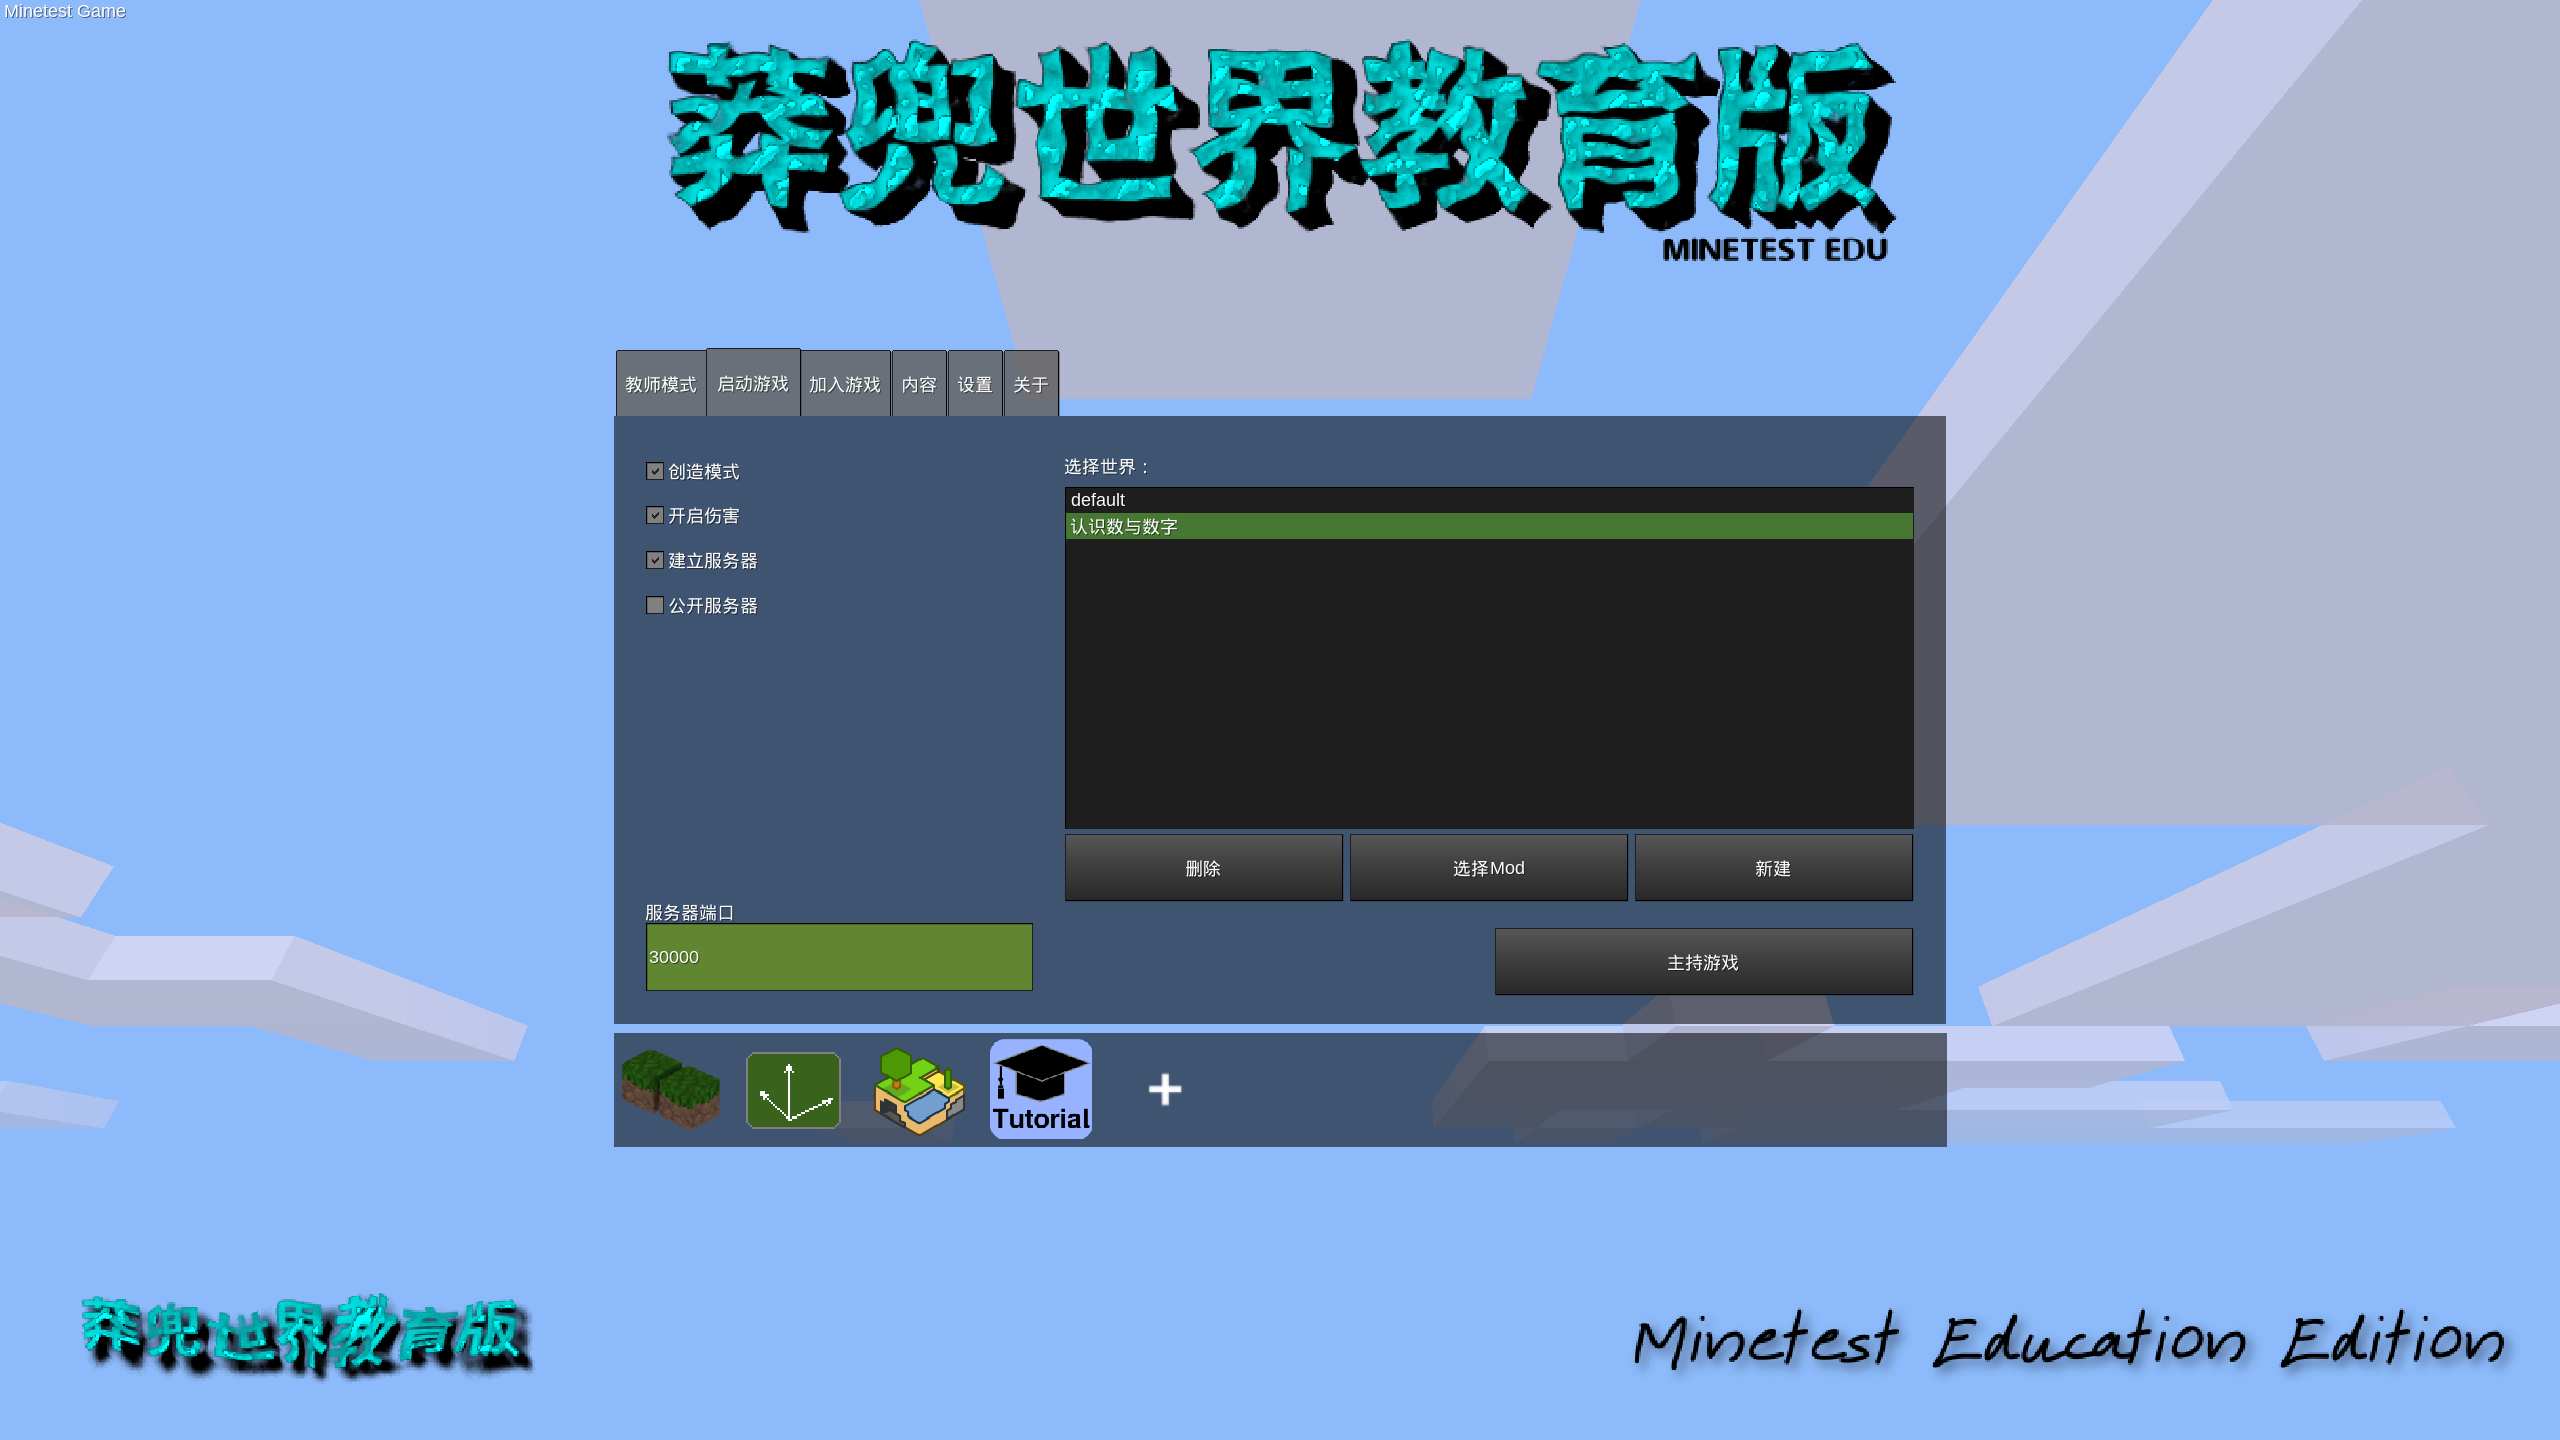
After running, click "teacher mode", enter the password and enter the management interface.
The management interface has 6 tabs.
- Teacher mode
- Start the game/host the game: manage the game world (course) and enable mods here
- Join the game
- Contents (installed mod management)
- Settings
- about
teacher model
Click on the first tab page is "Teacher Mode".
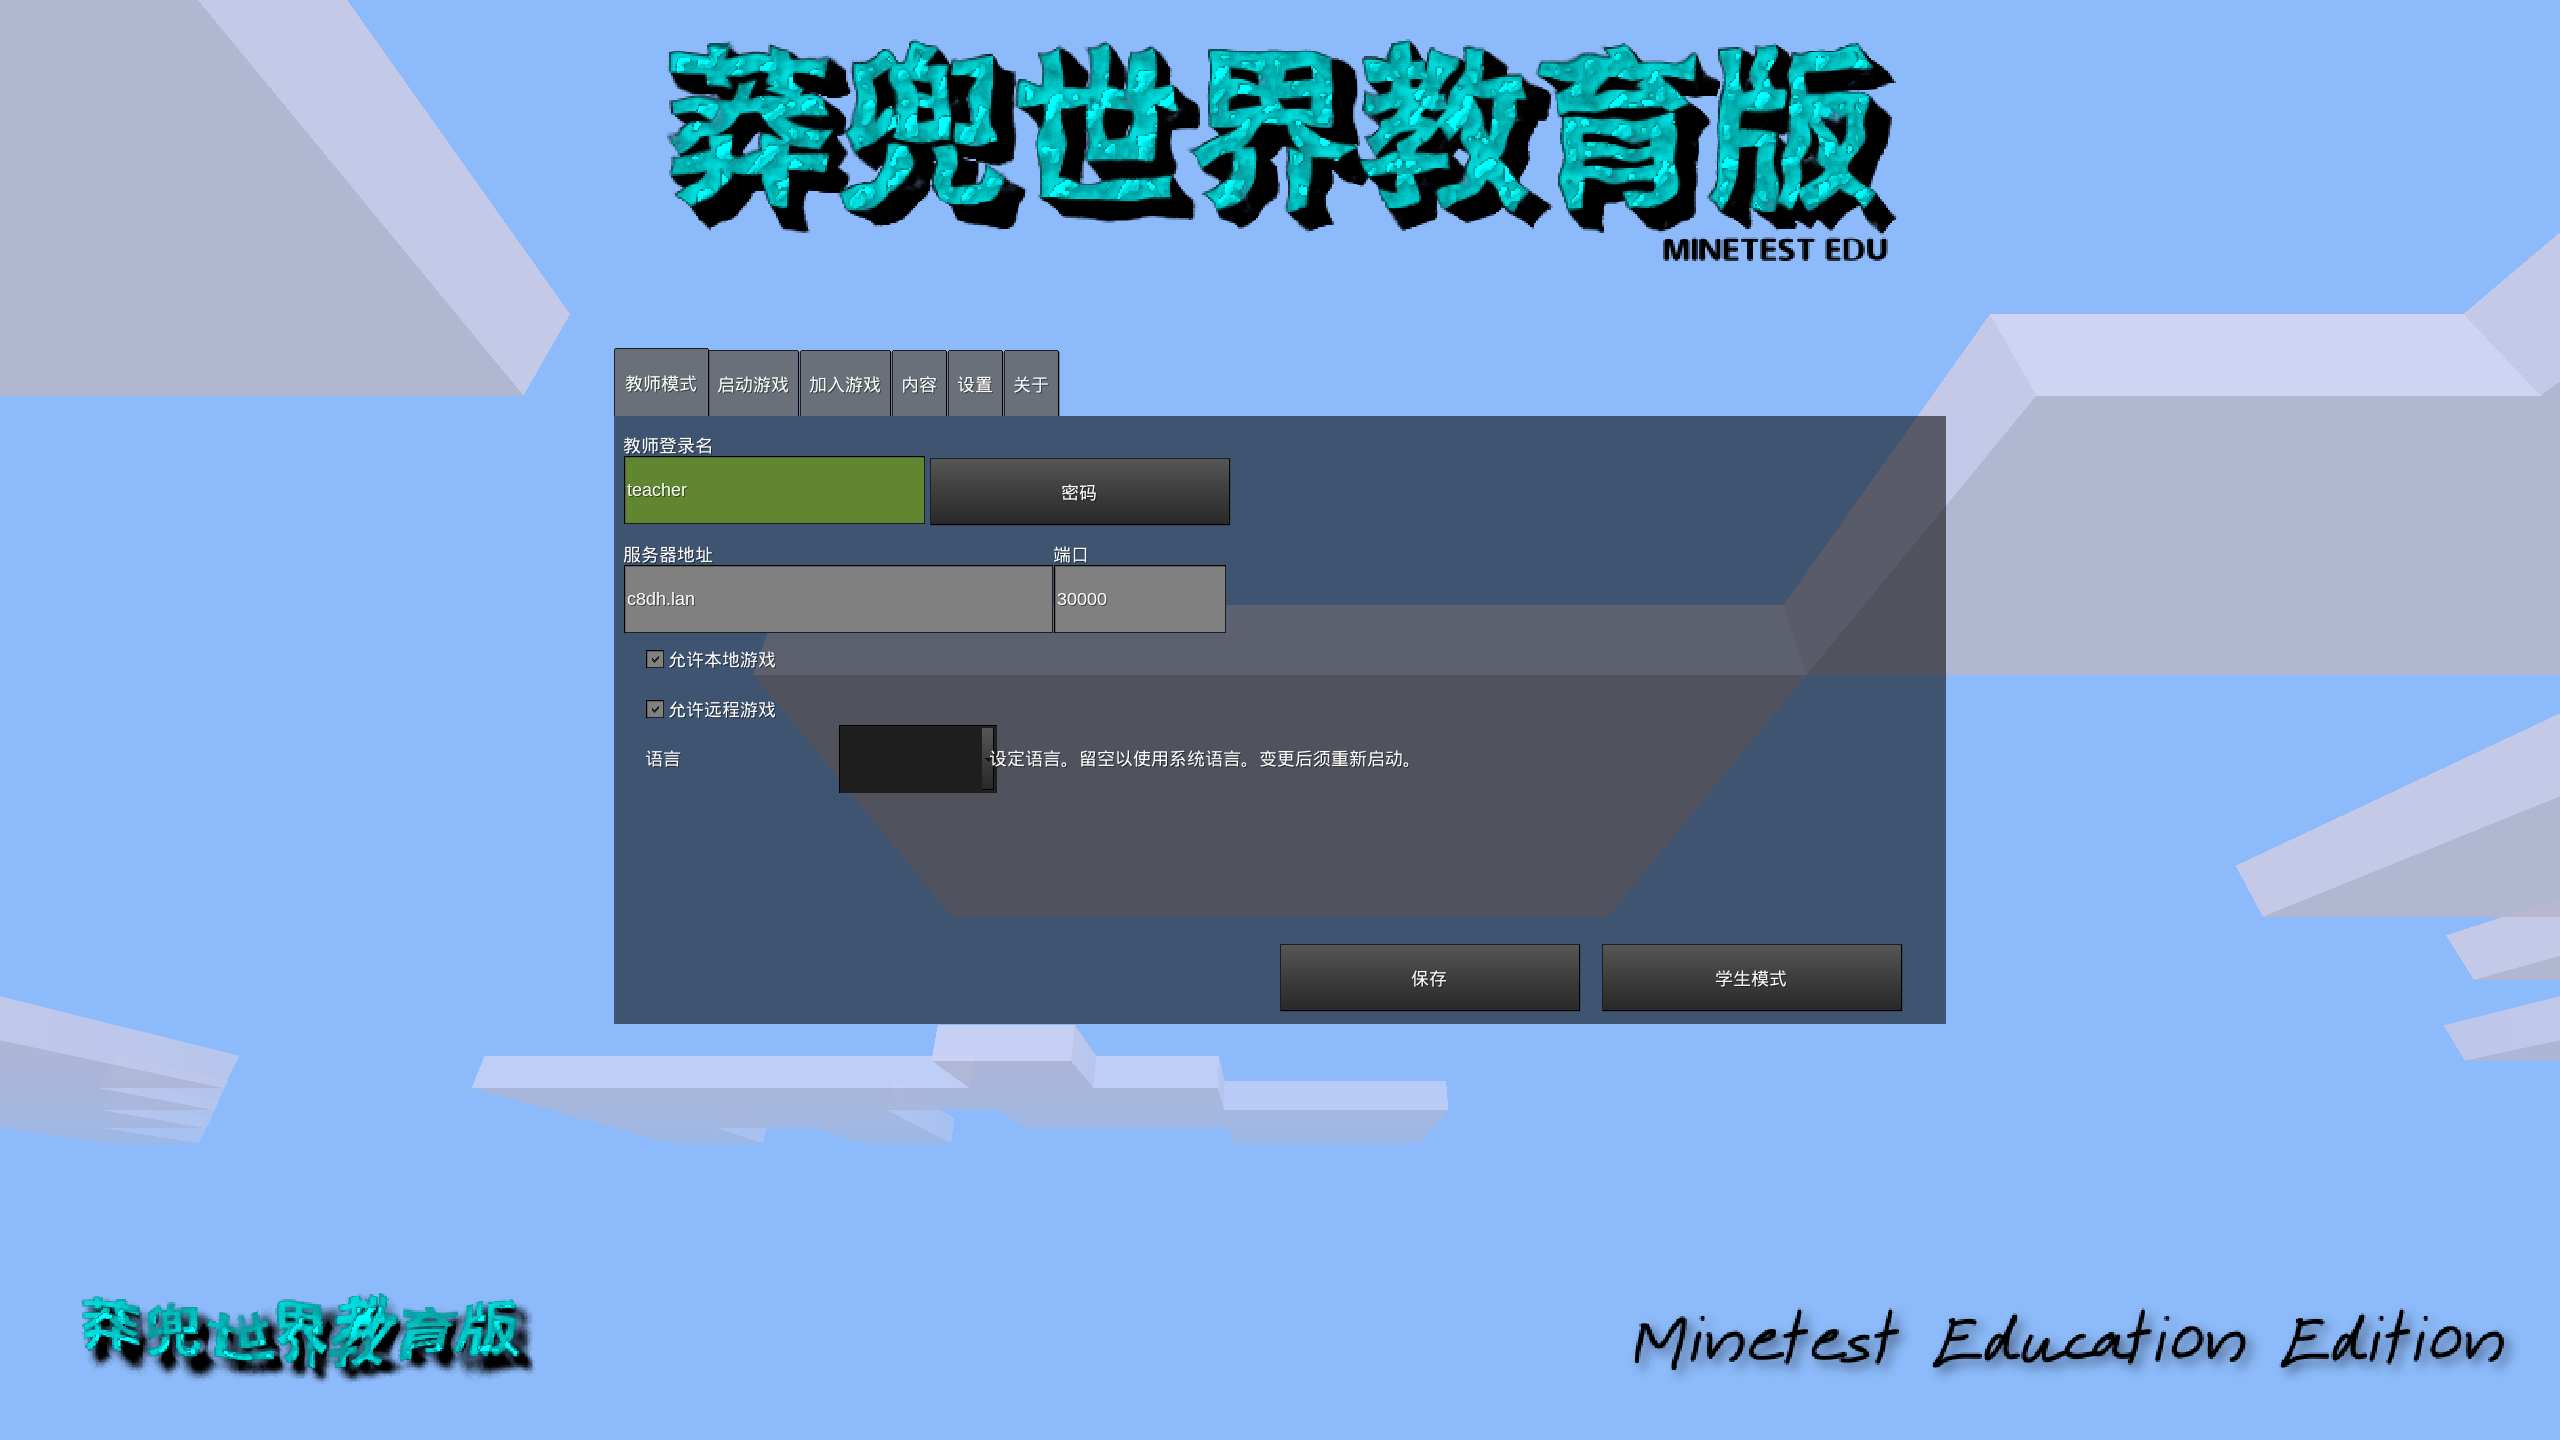
Teacher login name: Add/modify teacher login name, only English (half-width) charactersPassword: Modify the teacher's login password.Server Address: To play a multiplayer game, you must enter the IP address of the server you want to connect to. For details on setting up the server, see the following: [Start the game/host the game](#Start the game-host the game)Port: multiplayer game server port (default port, generally do not need to be changed)Allow single-player games: Check the button that appears on the student game interface:Start (single-player) gameAllow Remote Game: Check it to appear on the student game interface:Start (multiplayer) gamebutton, you must first configureServer Address.Language: Quickly set the language to use, leave blank by default to use the system language, and it will take effect after restarting.Savebutton: After modifying the above teacher configuration, you must click Save to take effect.Student Modebutton: click to return to student mode.
Start Game/Host Game
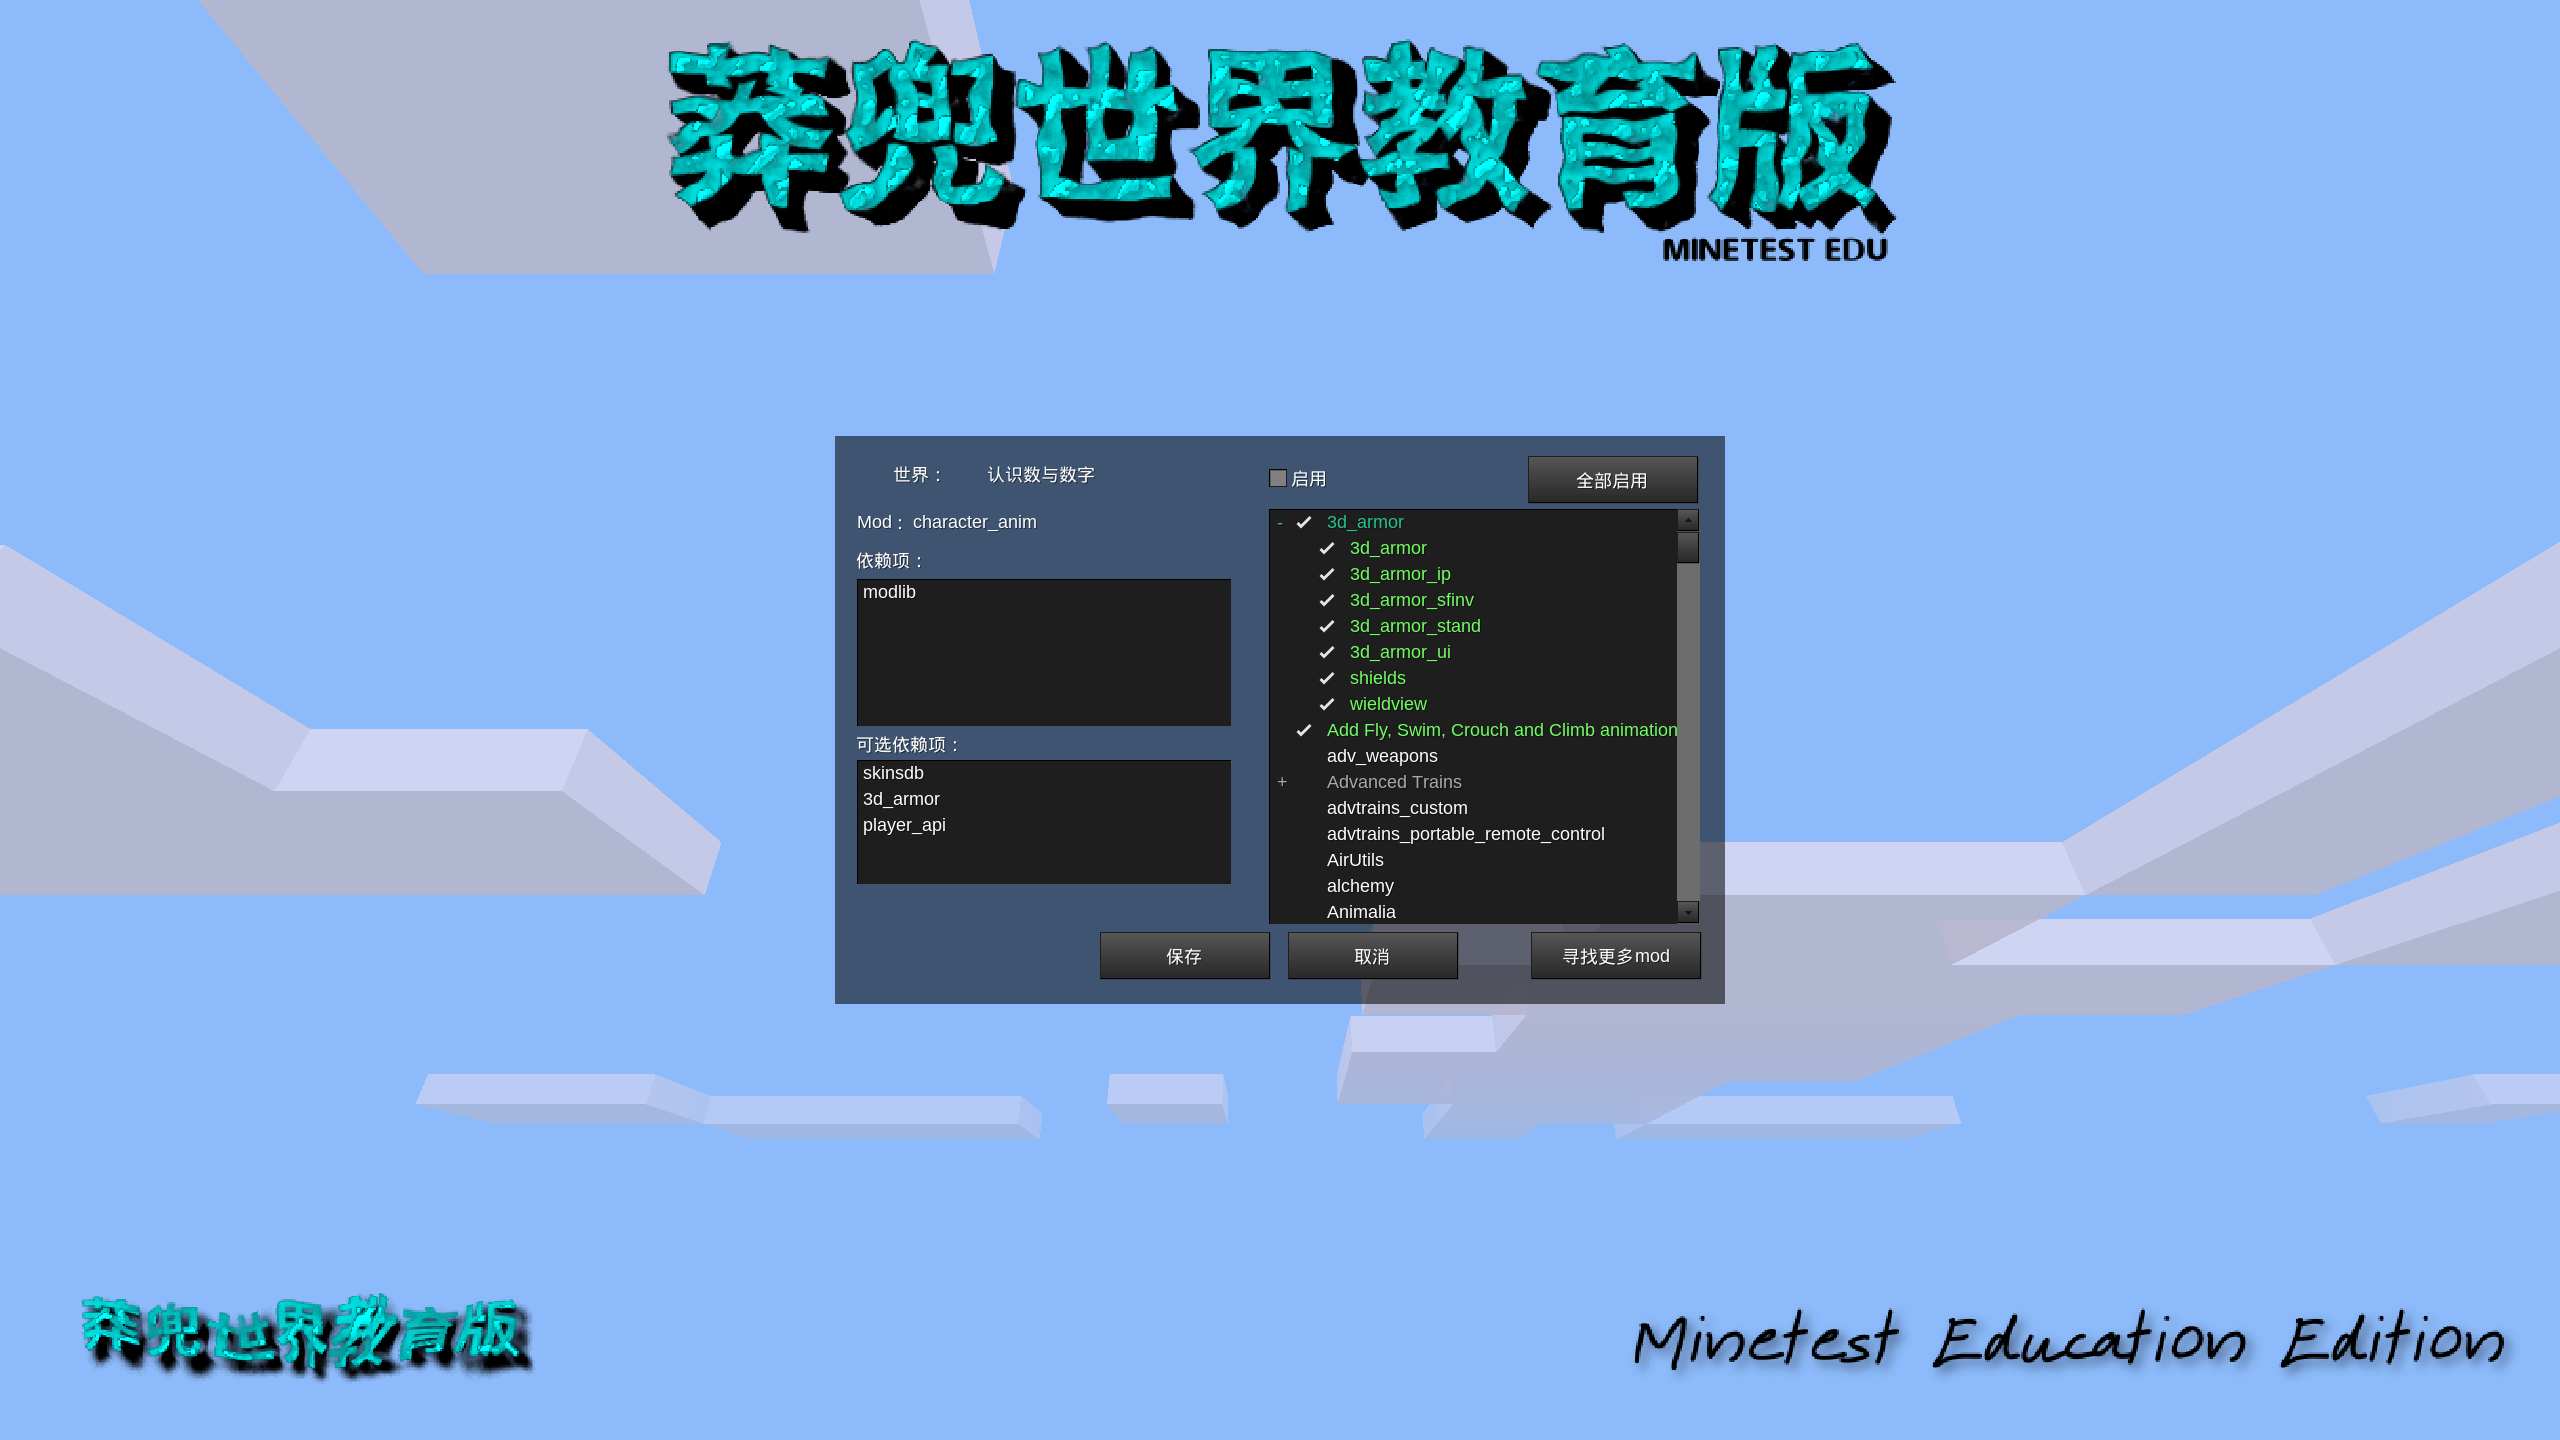
Click on the second tab is "Launch Game". Here you can manage the game world (course) and enable mods.
At the bottom is the sub-game icon list, click on the icon to switch the used sub-game
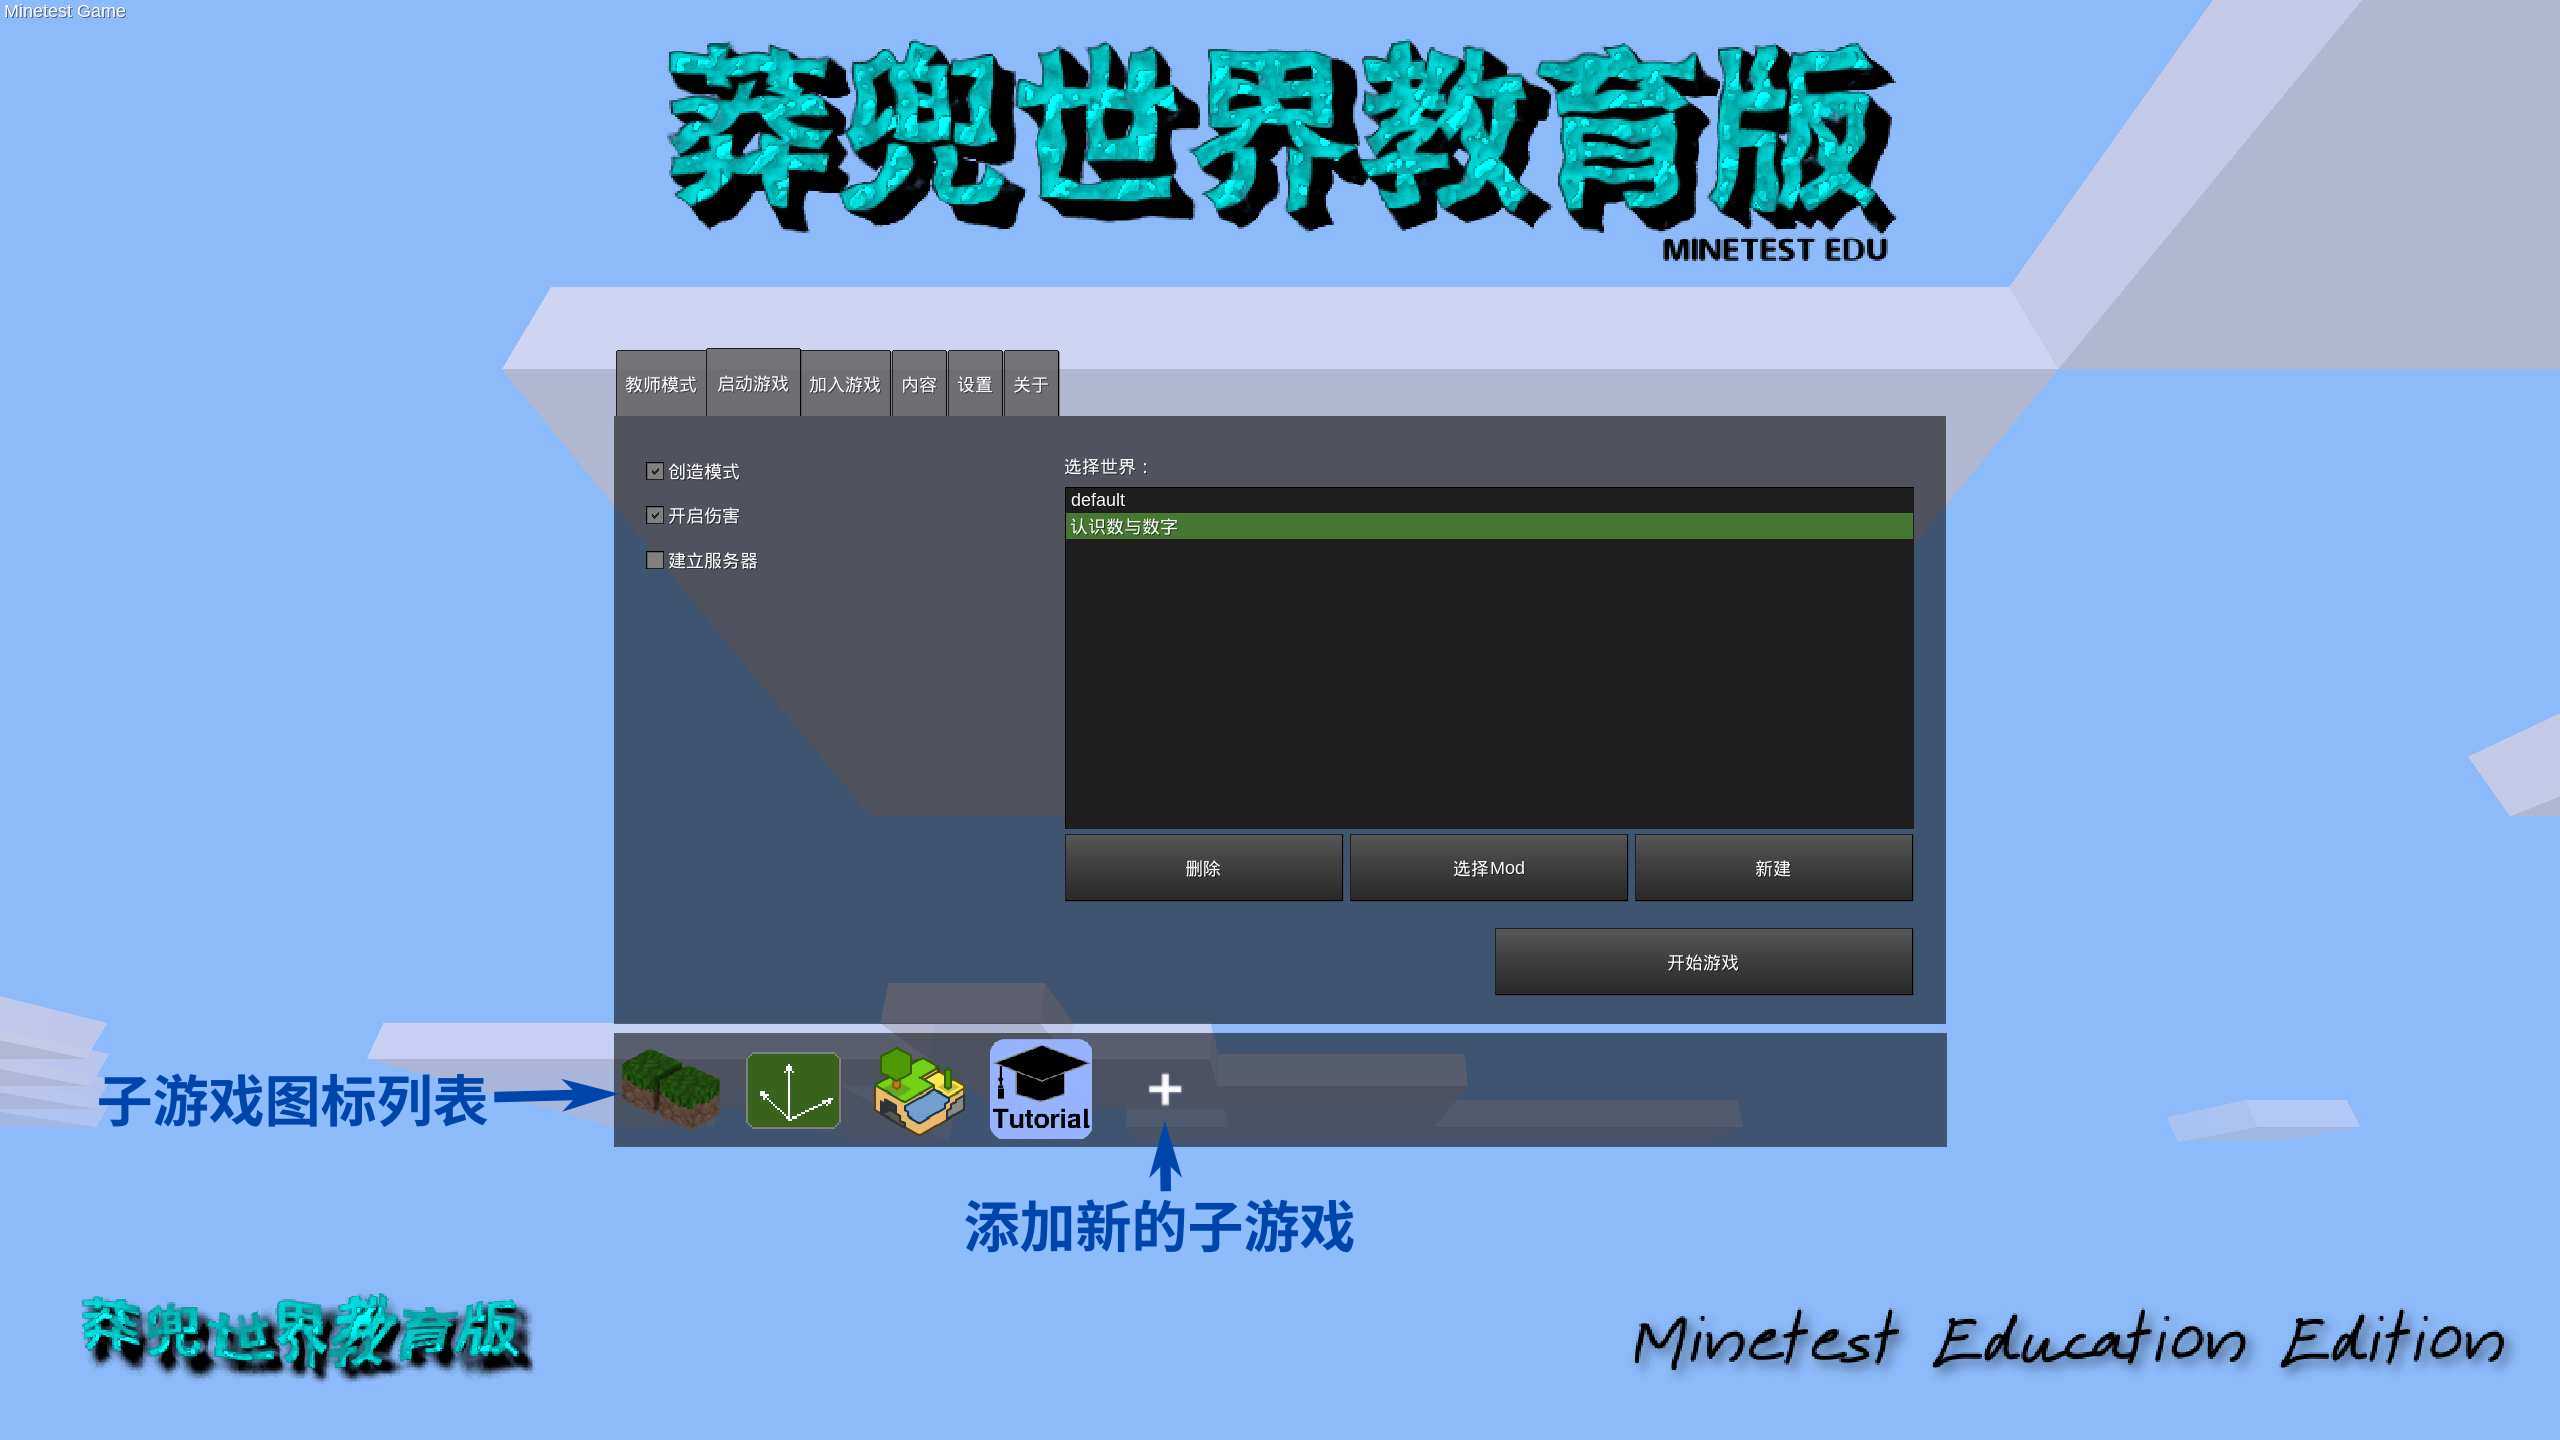
Creative Mode: Check it to enableCreative Modefor the selected world, otherwise it isSurvival ModeEnable damage: whether to enable damageBuild Server: After checking, the machine will run as a server at the same time, and the "Start Game" button on the right will change to "Host Game".Public Server: Whether to publish the server address to the Internet, only whenBuild Serveris selected, it will appearSelect World: On the right side, you can choose the game world you want to run, here you can think that each world is a course.- [New](#New World): Create a new game world (course)
- [Select Mod](#Select mod): Select the appropriate function module (Mod) for the current game world (course)
delete: delete the currently selected game world (lesson)
Note
If the host game exits the game, then the native game service will also stop.
After creating the server, you can tell the server's local IP address to the client who wants to connect. Then the client enters the local IP address in the Server Address under the Teacher Mode tab page. Remember that the client and the machine that created the server must be on the same network (with a WIFI router)!
Check the local IP address
Generally, we can use the IP address of IPv4.
:::::::::::::::::::::::::::::::::::::::::::::::::::::::::::::::::::::::::::::::
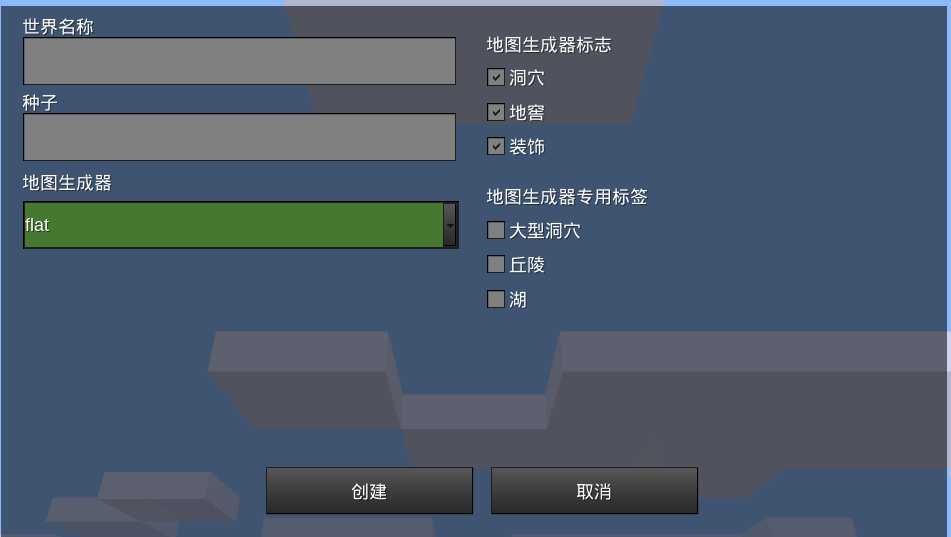
New World
Click the New button to create a new game world (course). A game world (course) is a large map generated by a specific map generator using an algorithm.
World Name: required, give the newly created world a name, it will be used as the folder name of the world, and placed in theworldsdirectory.Seed: Optional, if not filled in, a seed value will be randomly generated automatically, the same seed and the same map generator will generate the same world.Map Generator: required, in addition to controlling the appearance of the map terrain and generating building structures, the map generator (Map Generator) will also have an ecosystem (biological community). In addition tov6In all map generators except , these ecosystems (biomes) can be defined by mods using theBiome API, in other words, enabled features mods may drastically alter them. Thev6map generator is special in that its biomes are completely predefined and cannot be easily changed.
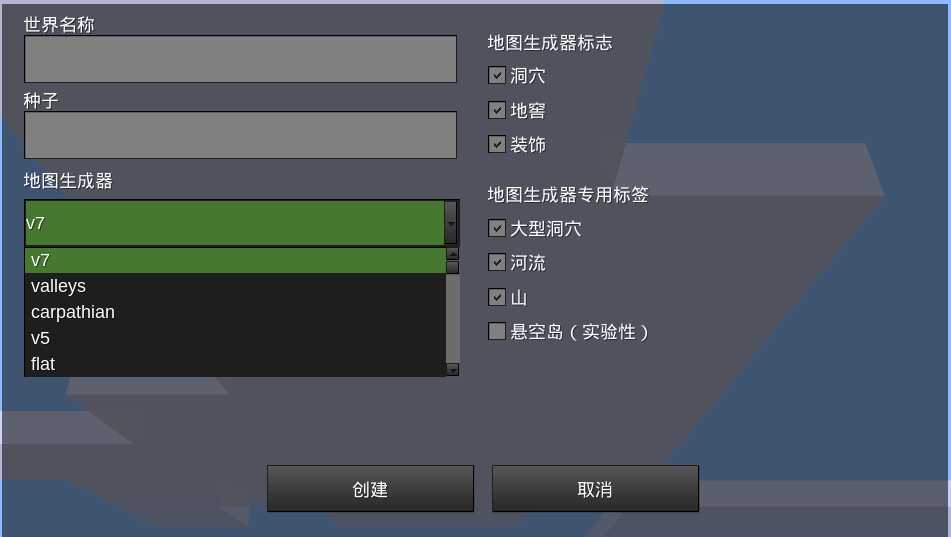
Create a new world for a subgame
Click the sub-game icon list at the bottom, select the sub-game first, and then click the "New" world button
Map(World) generator
Important Hint
v5 and v6 are not legacy map generators. "v5", "v6", and "v7" are names, not version numbers. All map generators (mapgen) included in Minetest are officially supported and updated.
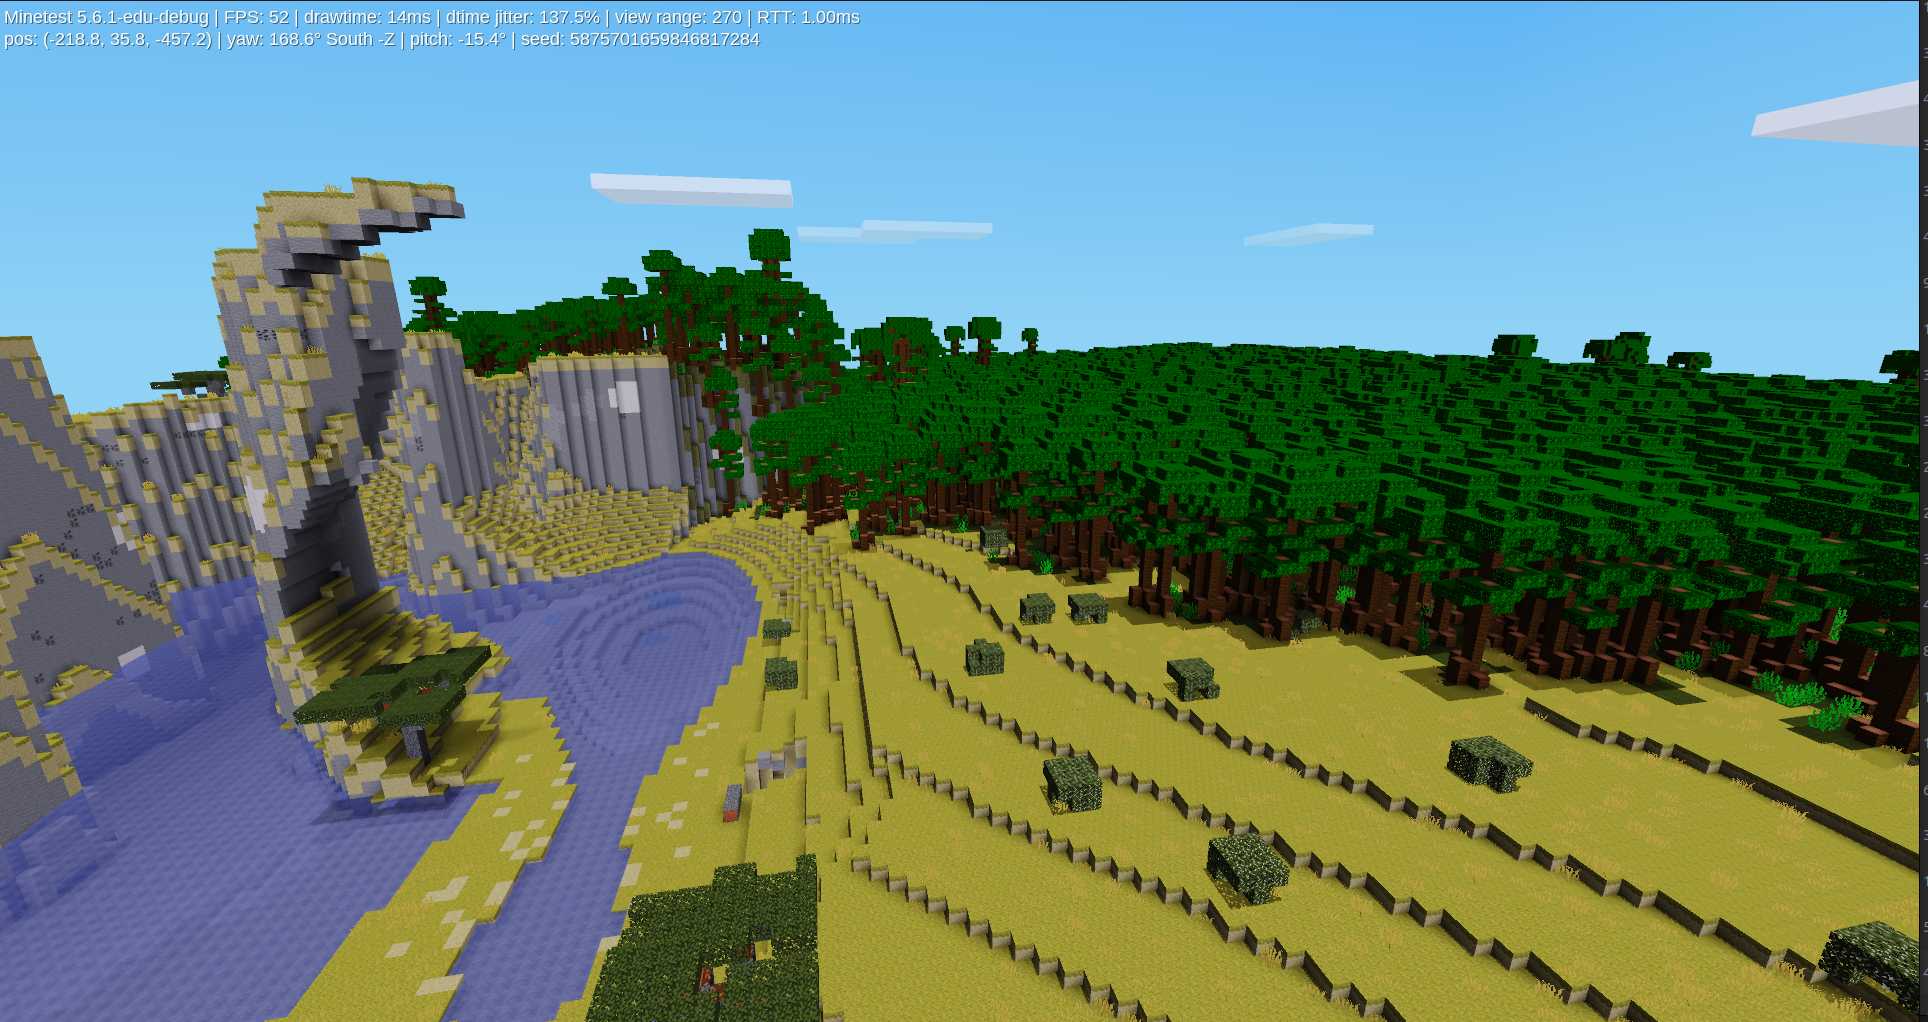
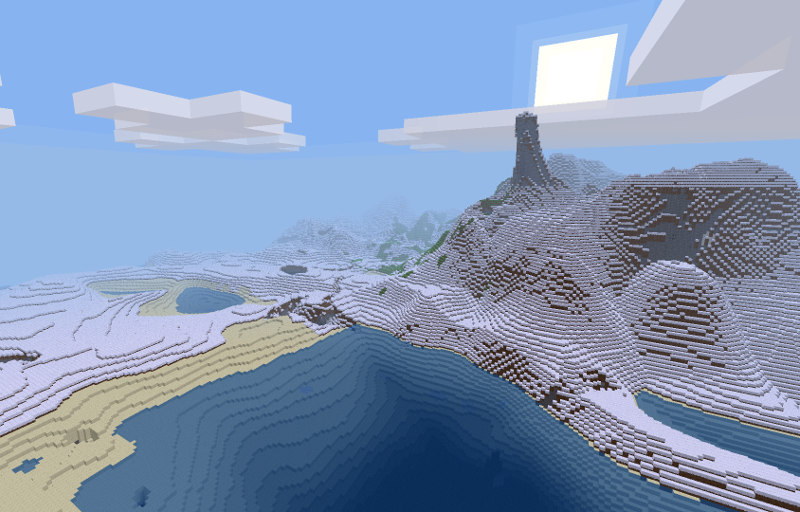
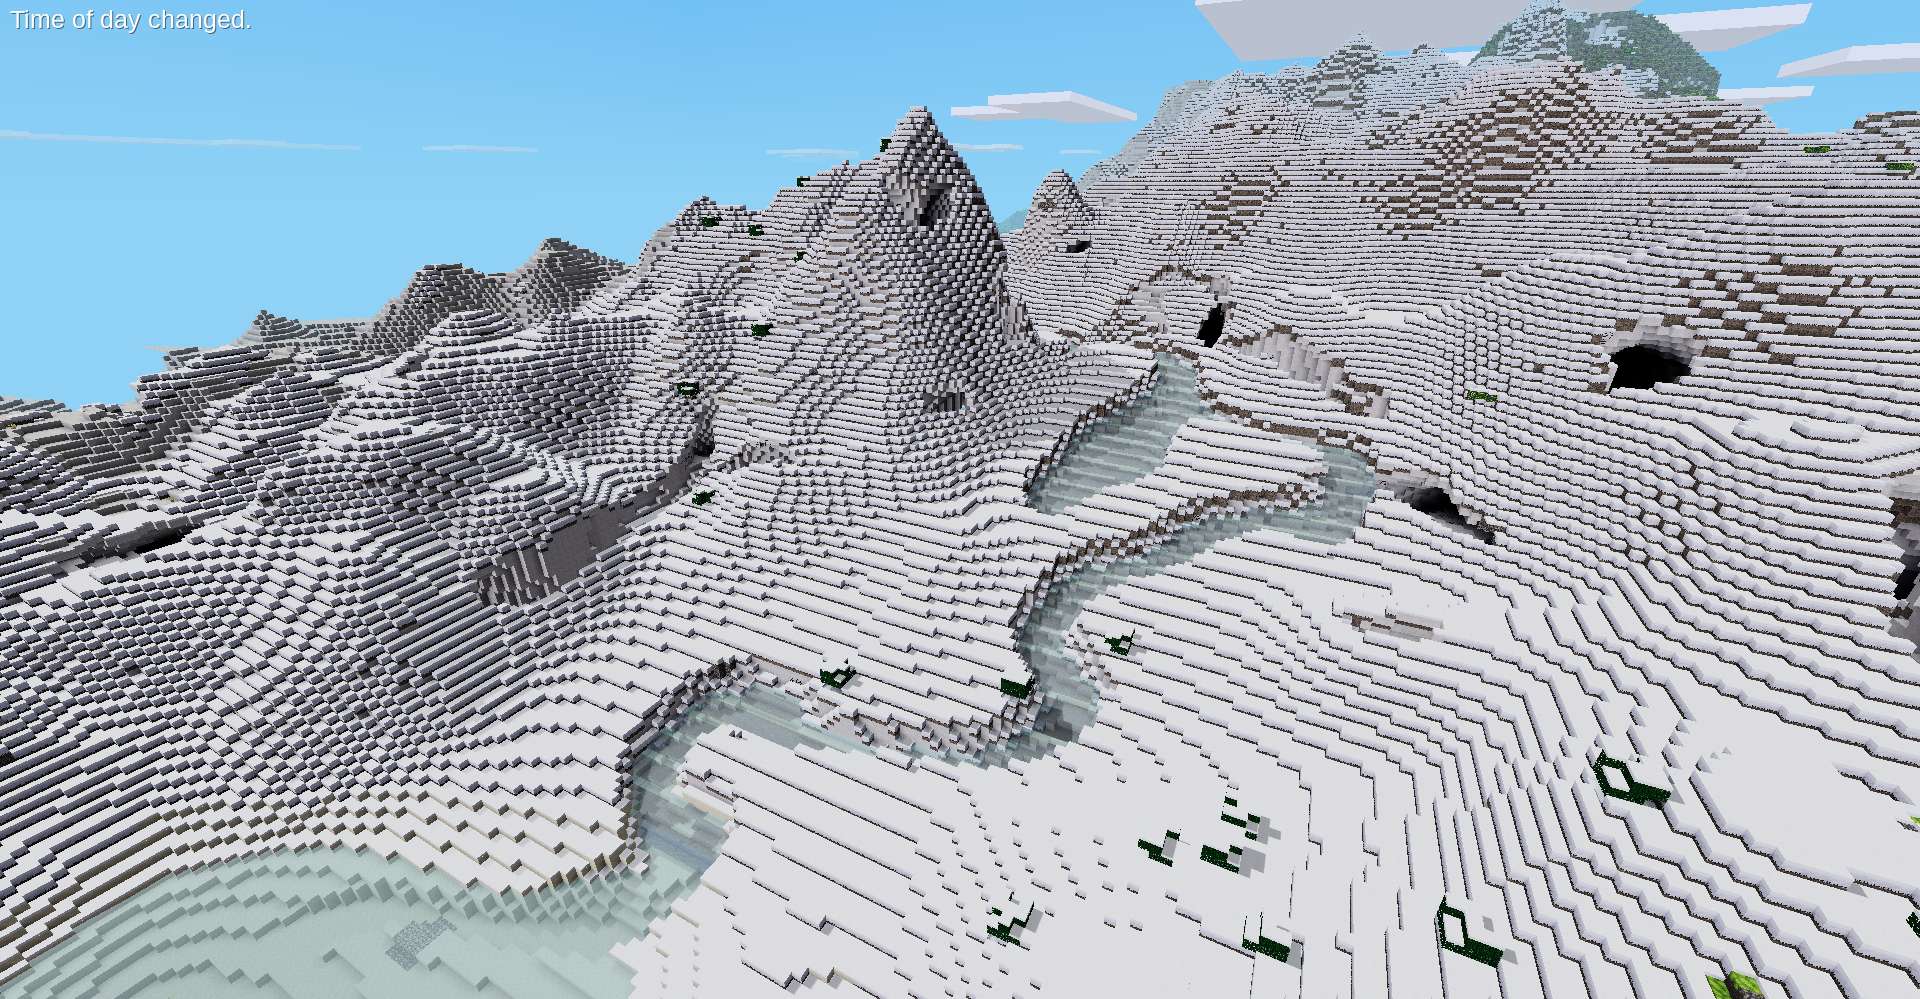
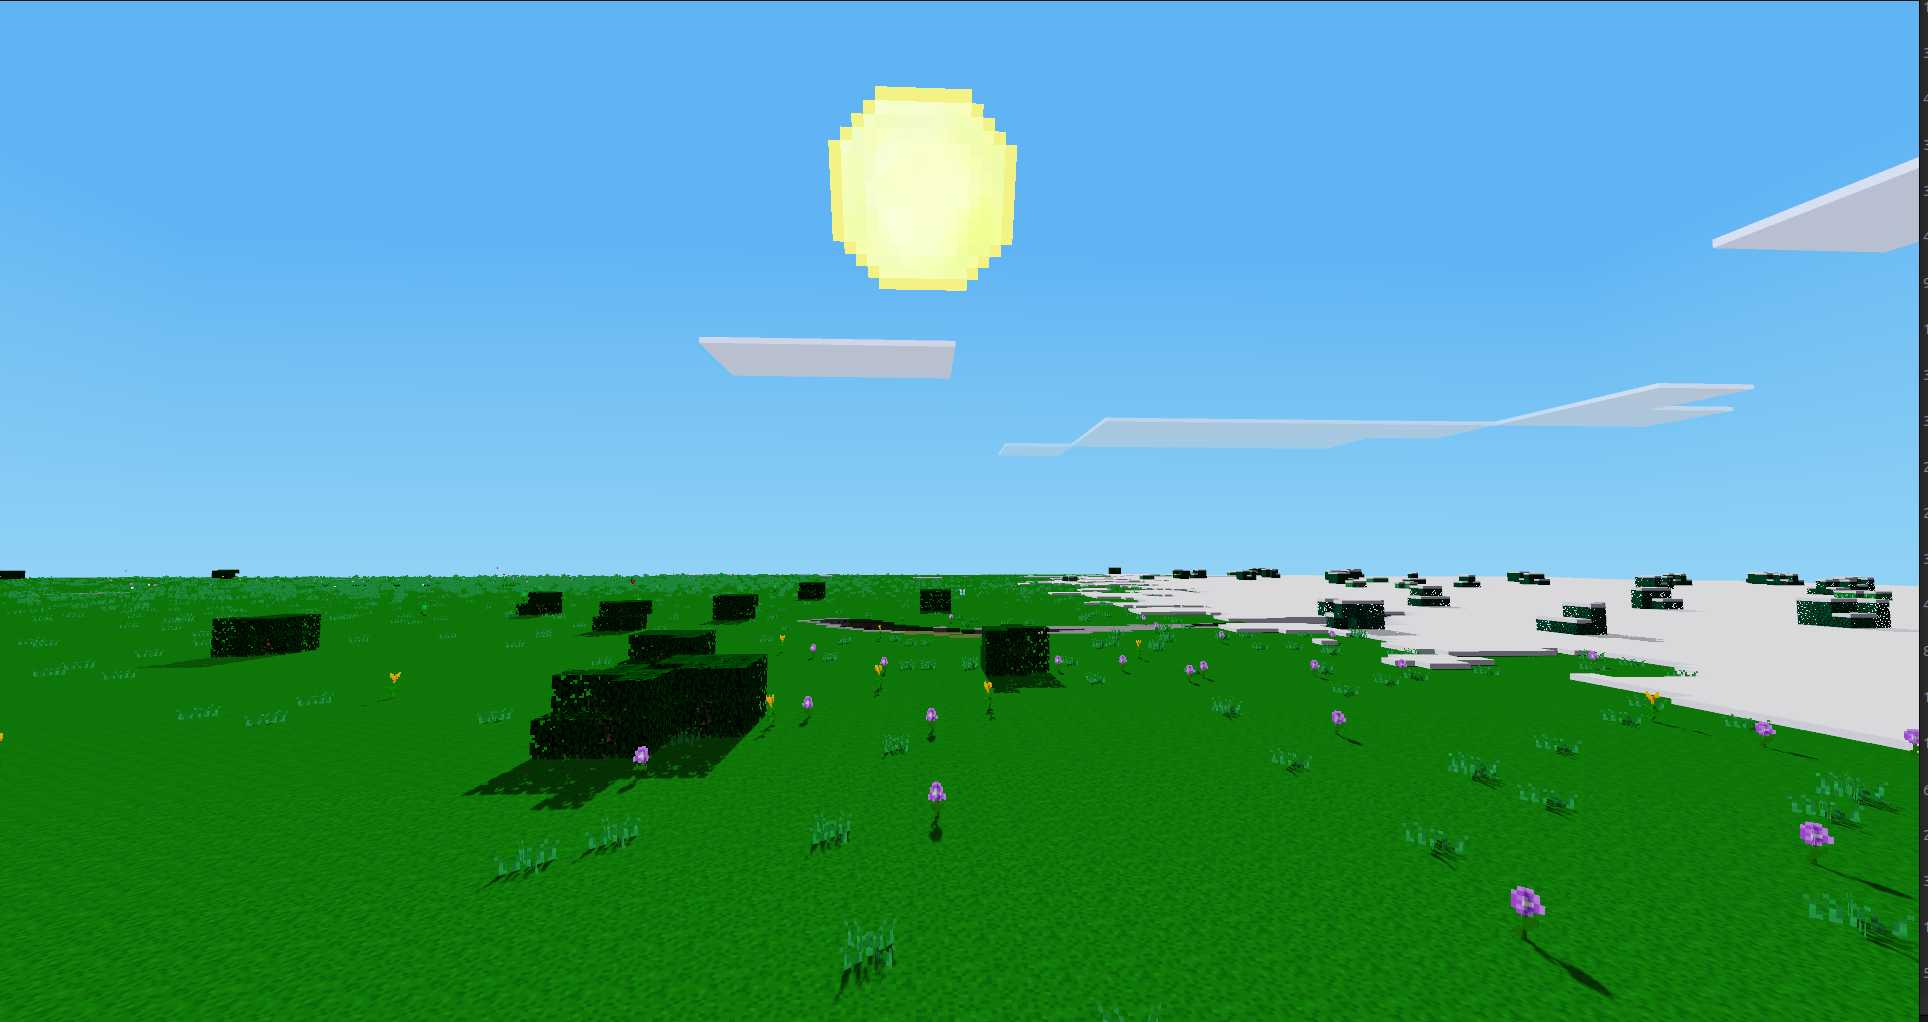
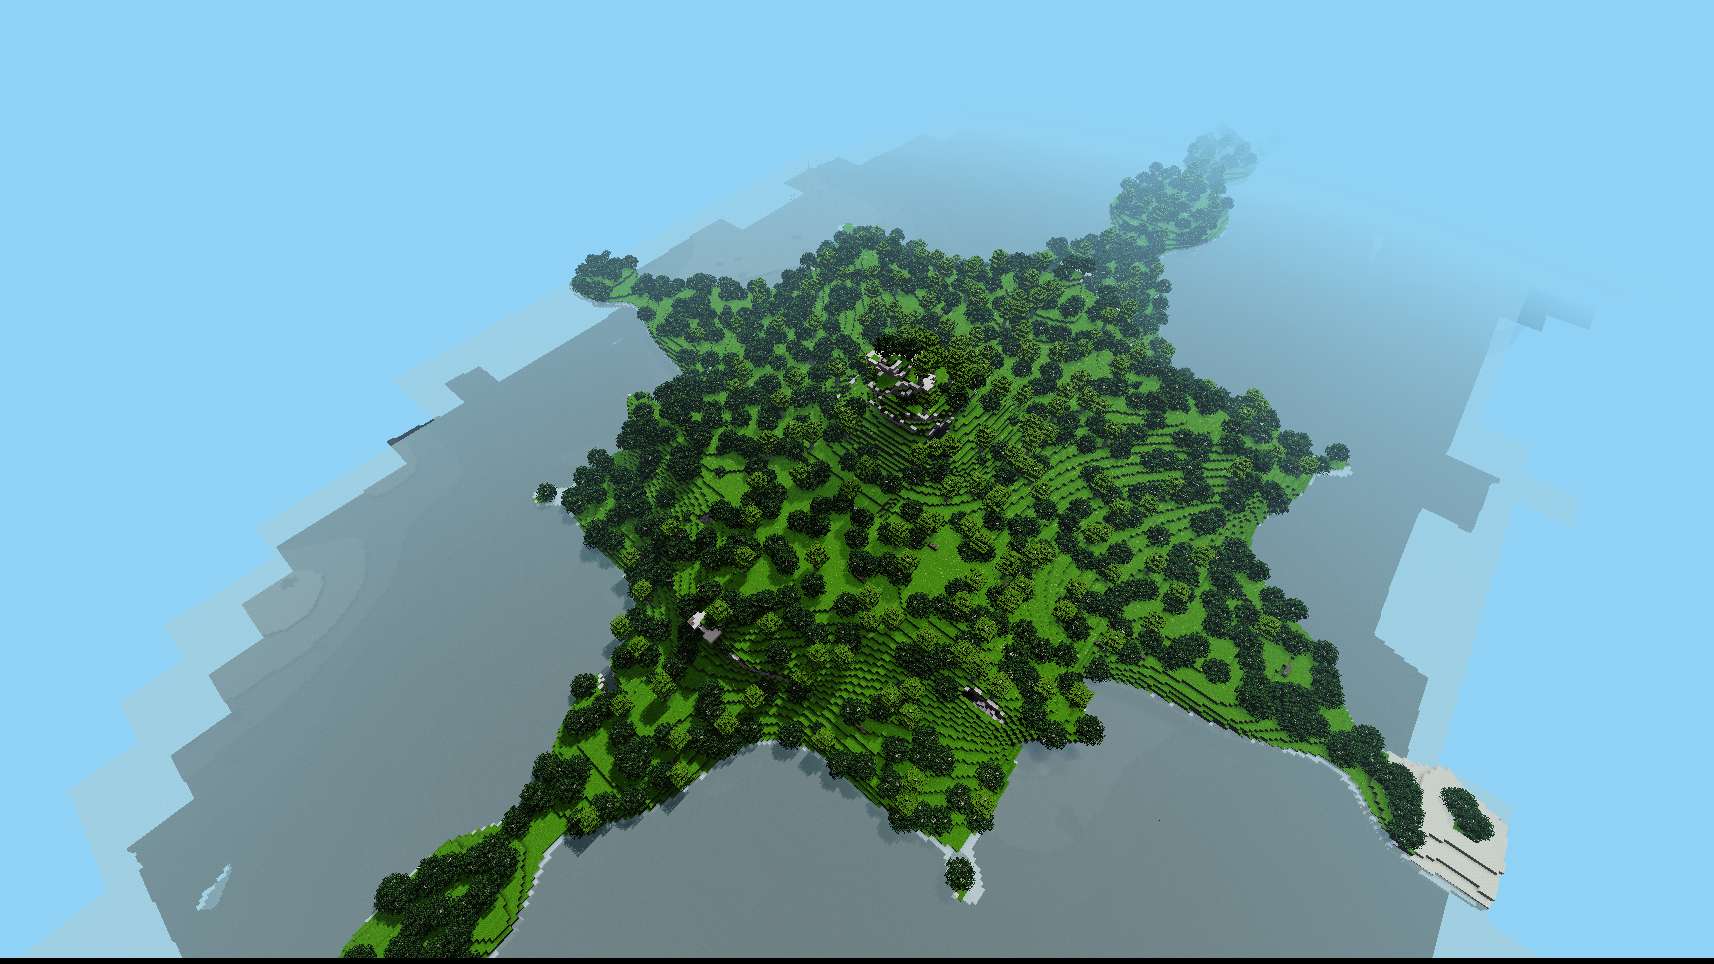
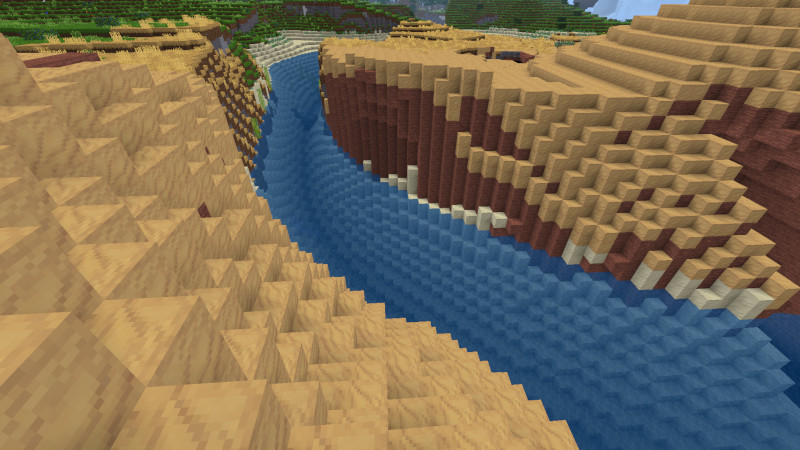
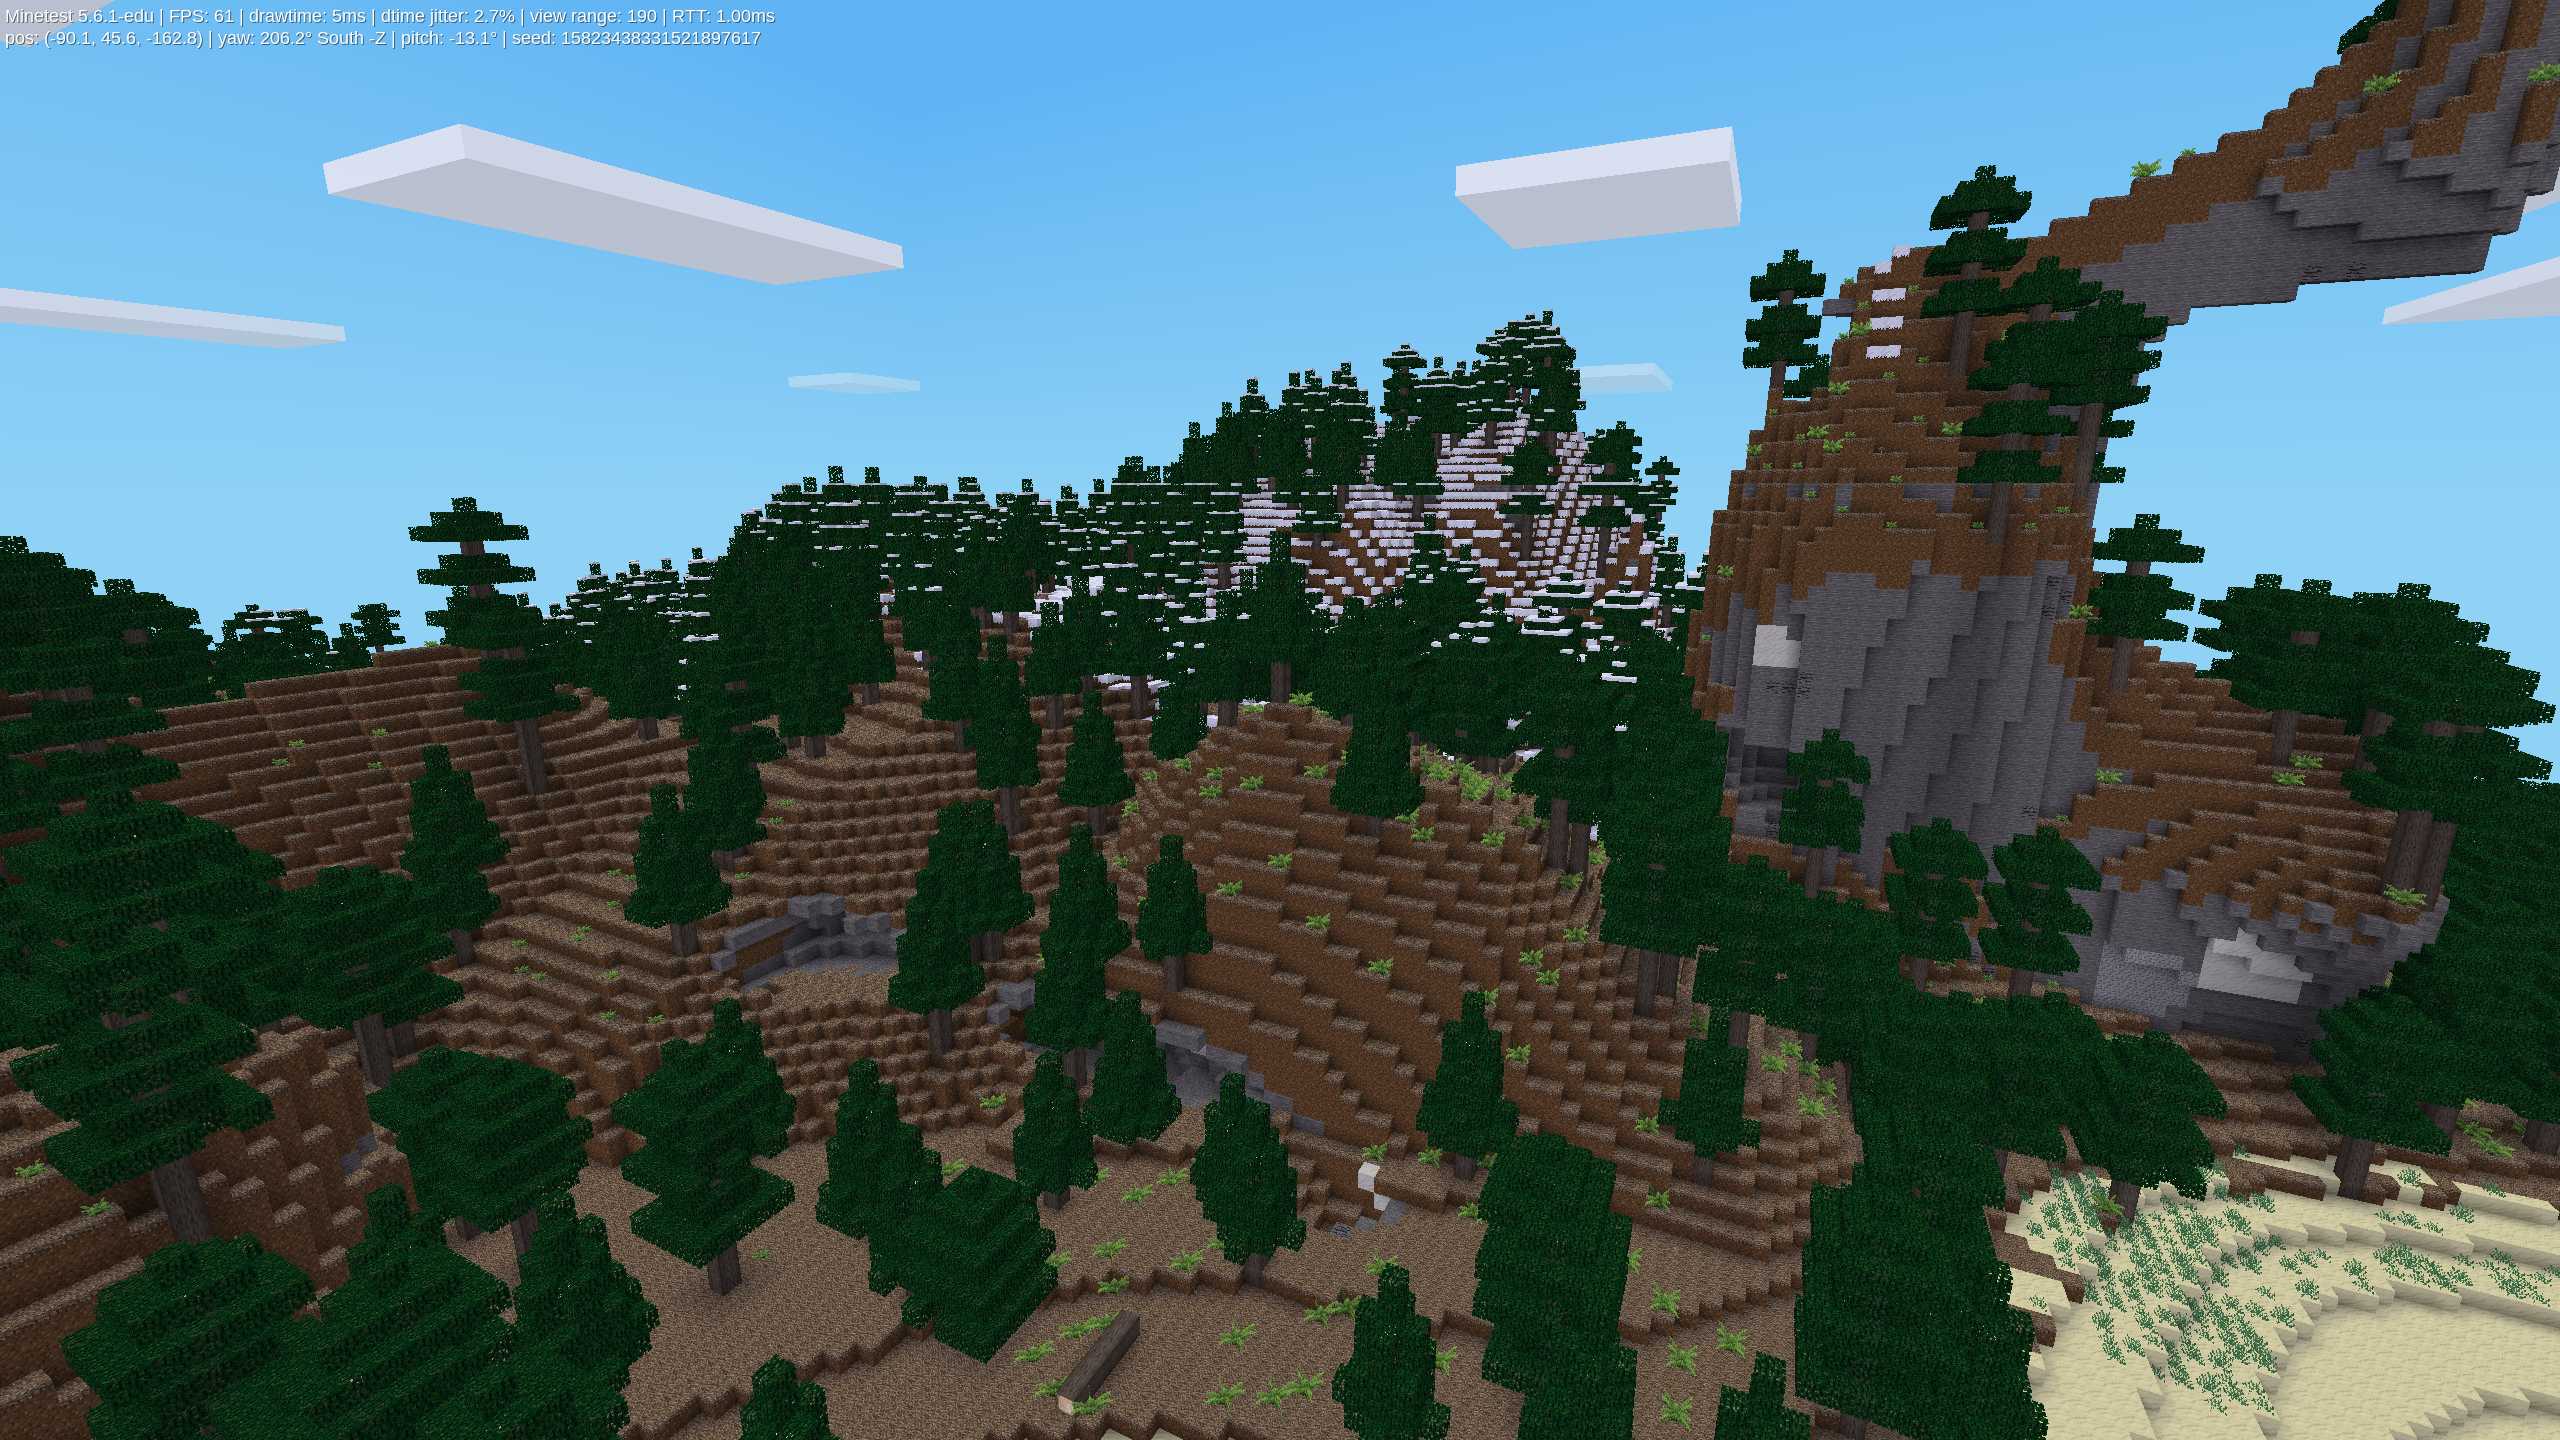
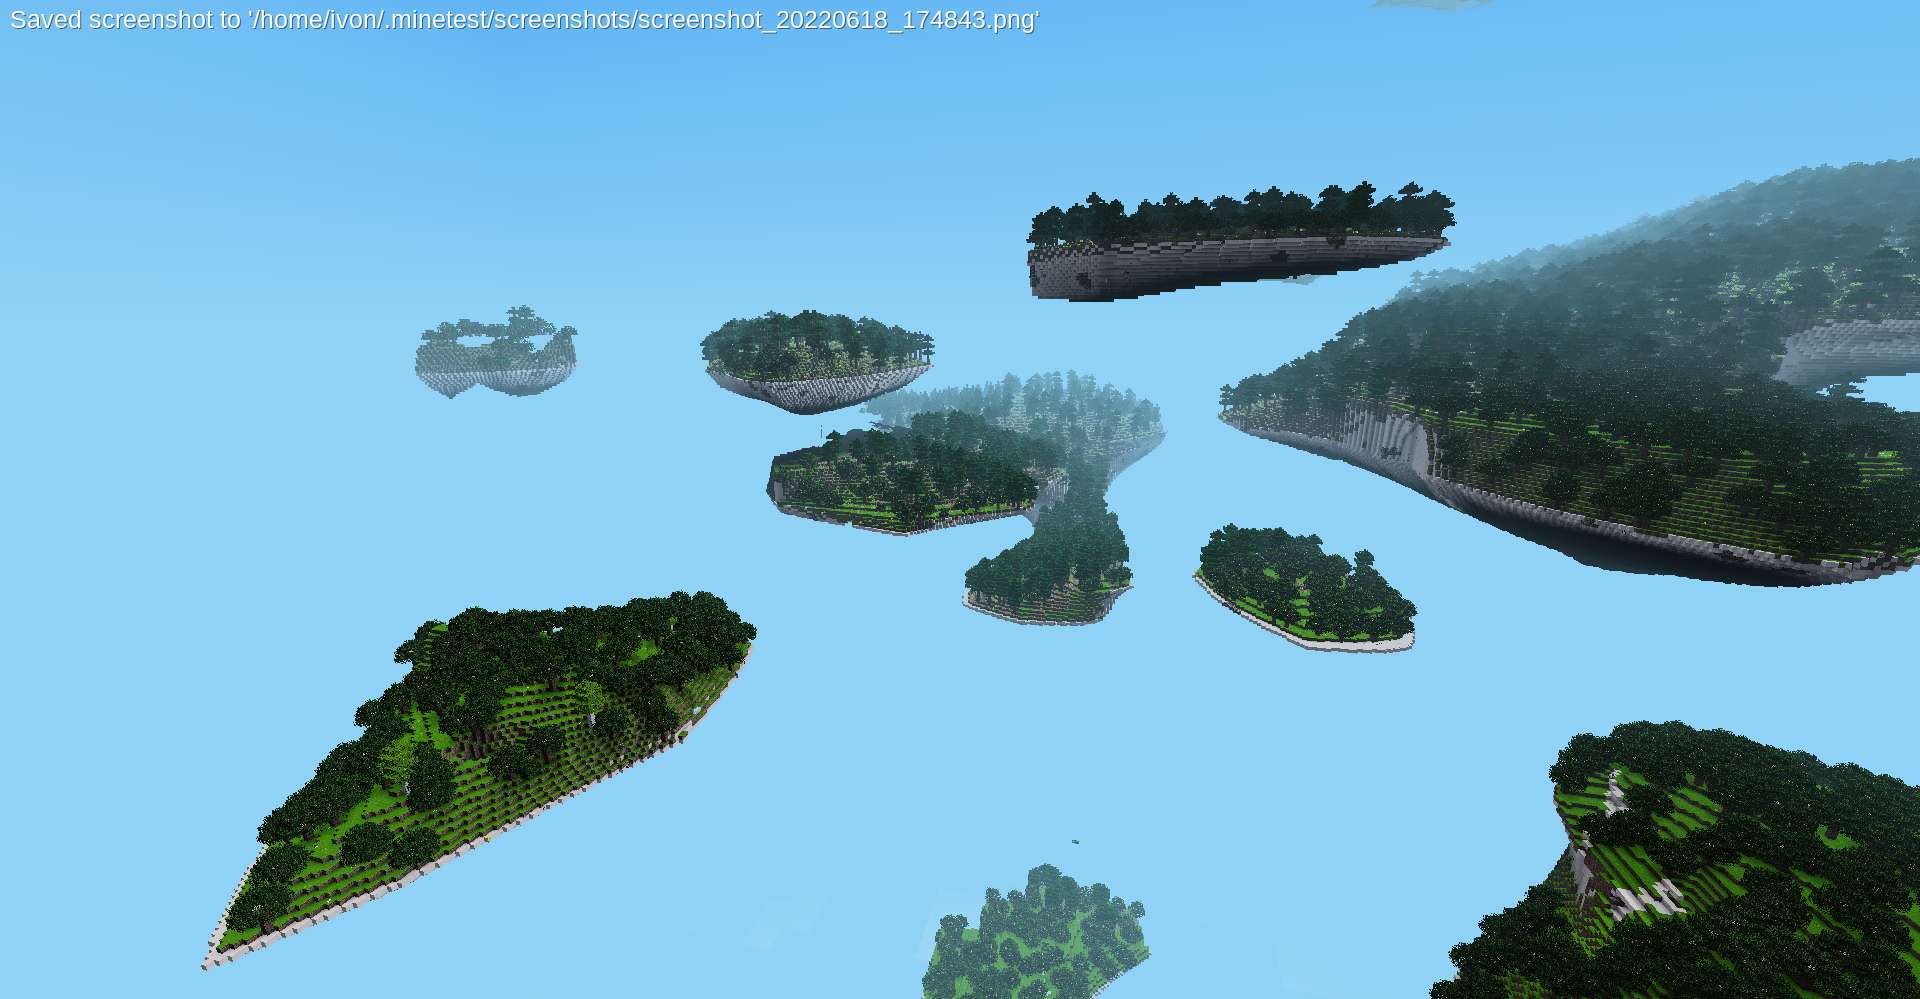
v5map generator: Although it emphasizes authenticity, v5 sometimes runs out of extreme terrain, such as super deep sea and super deep caves. unrealistic but interesting landscapes, often with floating specks and extreme terrain overhangs,v6map generator: simple hills, cliffs and plateaus, fairly flat and small-scale map generator, no terrain overhangs, pre-defined biomes, cannot be changed easilyv7map generator: It is the latest map generator ofMinetest 5.6, with rich terrain, often with vast ecosystem terrain, very wide landscape, overhanging mountains and distant plains . Rivers appear at near sea level, can be customized by mods using theBiome APIcarpathianCarpathian Mountains map generator: complex and realistic mountains with many variants, sometimes reaching extremely high heights, separated by oceans and deep low plainsvalleysvalley map generator: In addition to generating general ecosystems and caves, it will also generate valleys and rivers. The shape of the mountain is more natural and tends to have different ecosystems depending on the altitude. Maps will often see high mountains and winding rivers. Interestingly, these rivers have height differences, and they will go down like real-world rivers. The special water blockriver waterwas also introduced for this purpose.flatmap generator: a completely flat world, mainly flat terrain, you can check the options to generate caves, cellars, decorations, hills and lakes. have biomesfractalfractal map generator: maps are based on a fractal of your choice; highly configurablesinglenodeSingle node map generator: generate a blank world, nothing, only air, use mod or subgame to determine the appearance of terrain generation
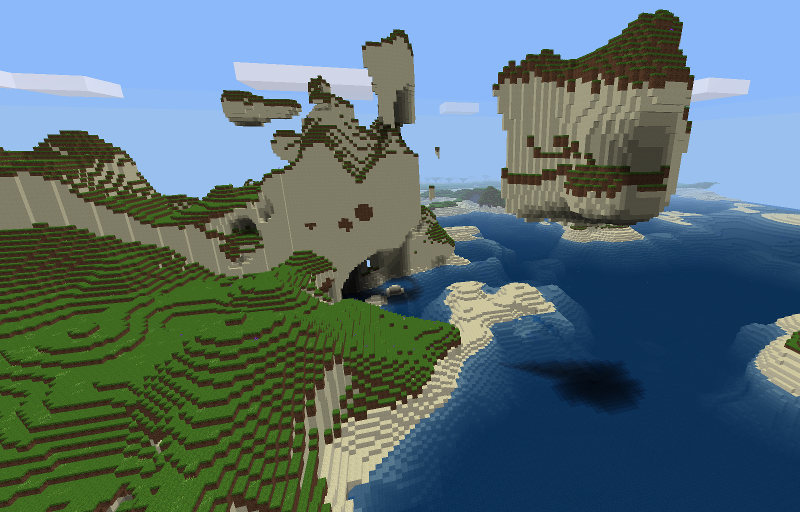
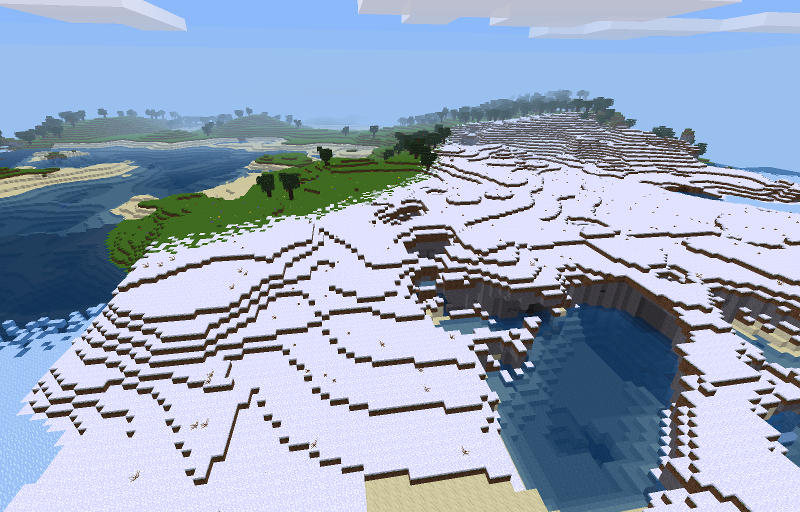
Build Structures (Map Generator)
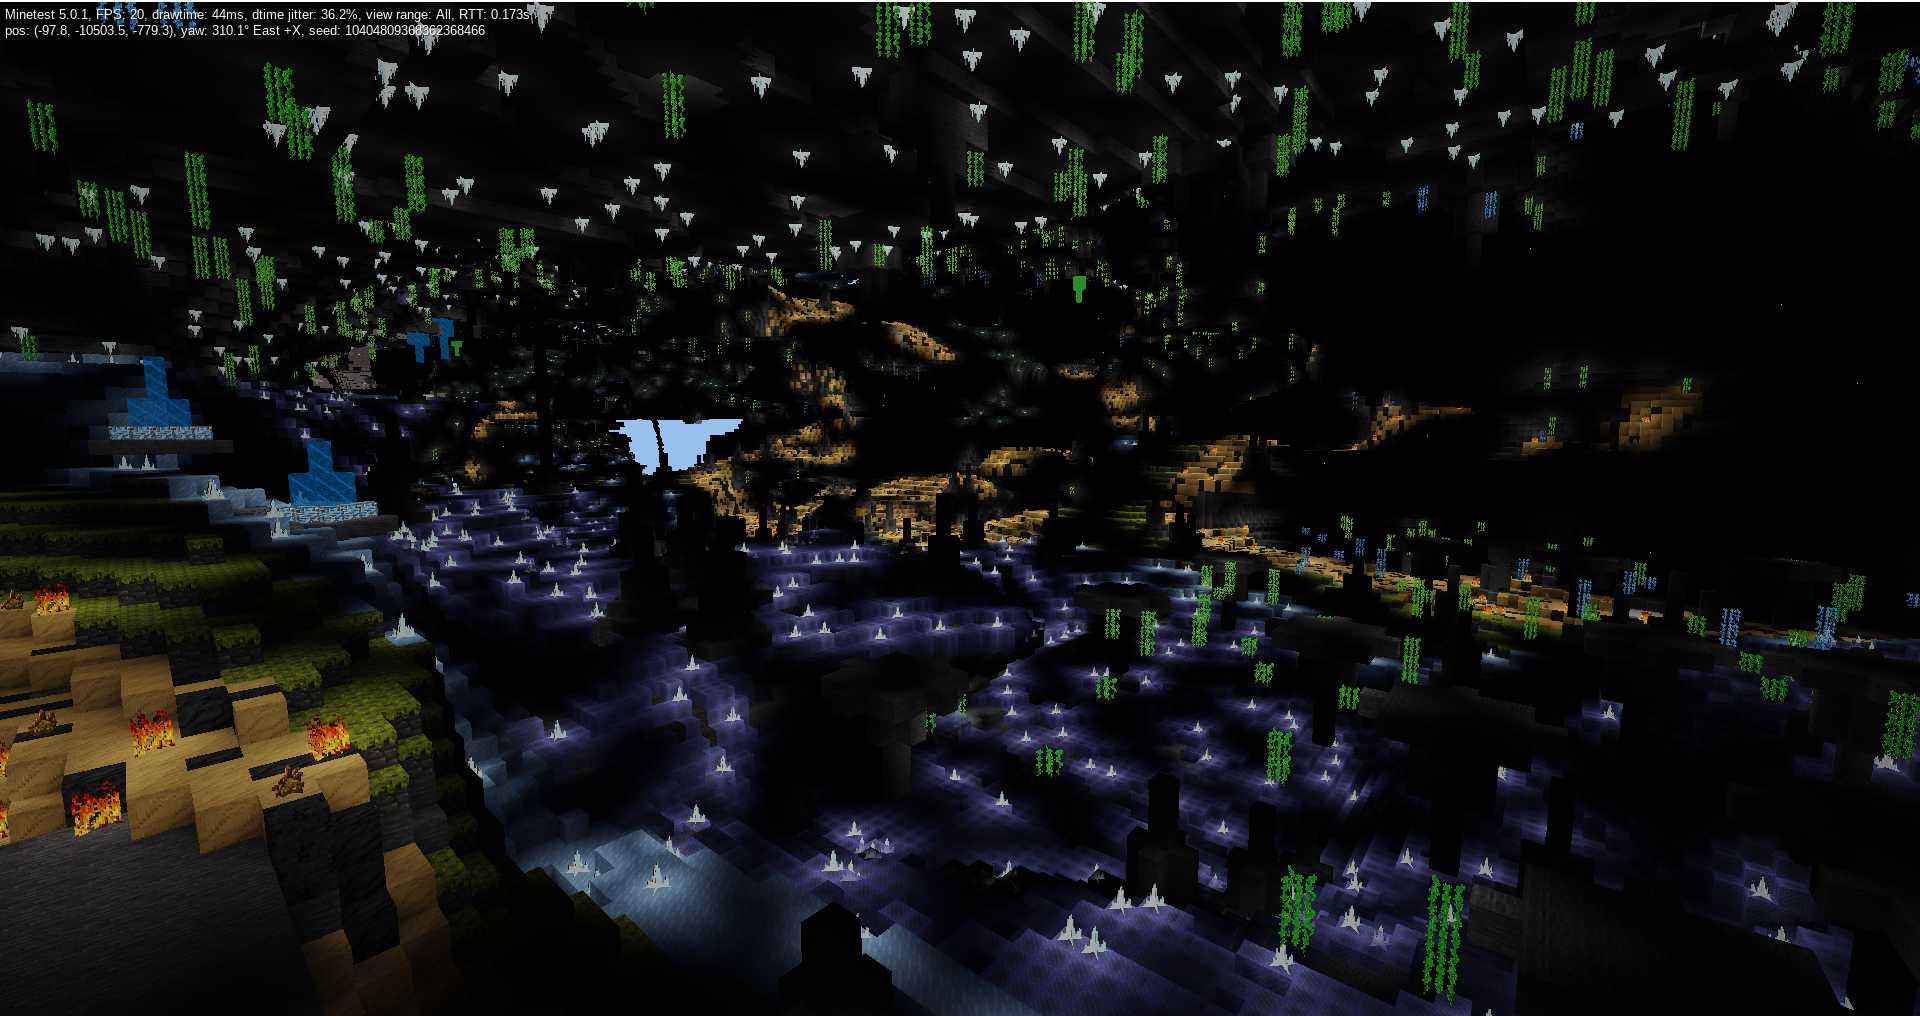
caves: Caves can be found underground- Caves can range from very small to very complex systems of interconnected tunnels
- Cave entrances can usually be found on the surface.
- Cave styles produced by different map generators vary widely.
Dungeonsare the most common building structures that contain treasure chests. There are currently cobblestone cellars, desert cellars, sandstone cellars, and sometimes the entrances are exposed to the surface.Decorations: Decorations are additional structures that modules place on top of surfaces. Ornaments can be small plants such as grass, flowers, cacti, or even entire trees or buildings. The
v6 map generatoris an exception here, as normal trees, apple trees, jungle trees, pine trees, and jungle grass are generated by the map generator itself and are not considered decorations and thus are not affected by this setting. But mods can still add extra decorations on top of this.large caverns: This enables the creation of caverns with very large spaces. They usually have no lava or water in or near them.Rivers (ridges): Rivers split terrain, sometimes forming canyon-like terrain. Sometimes it may make sense to disable these rivers since they can make the resulting terrain very difficult to navigate.mountains(mountains): mountainsfloatlands: Iffloatlandsis turned on, it will start to generate at height (Y)>1280.
World borders
X,Y,Z maximum coordinates values are: −30912 to 30927 = 61840
The space size is 61840x61840x61840, if a square is 1 cubic meter, then it is 2.36487637504×10¹⁴ cubic meters. Maximum area: 61840x61840 = 3,824,185,600 m2 ≈ 3824 square kilometers (about half the size of Shanghai).
Select Mod
Click the "Select Mod" button to open the mod list dialog
The right side of the module list dialog box is the module list, and the left side is the detailed description of the selected module
Tips
- If you are on an Android phone or tablet, you need to drag the scroll bar on the right side of the list to scroll the list items.
- Tick the module item that turns green, which means it is enabled, and the item in white font means it is not enabled
- Mod items with a plus sign (
+) in front of them are represented as ModPacks, click the plus sign (+) to expand and view the mod items - Directly double-click on the module item to switch whether to enable it, or click to select a module item, click the
Enableselection box above to switch - Generally do not click
Enable All, because there will be conflicts between some modules - After selecting the module, remember to click the
Save buttonto exit; click theCancel buttonto give up changing the module.
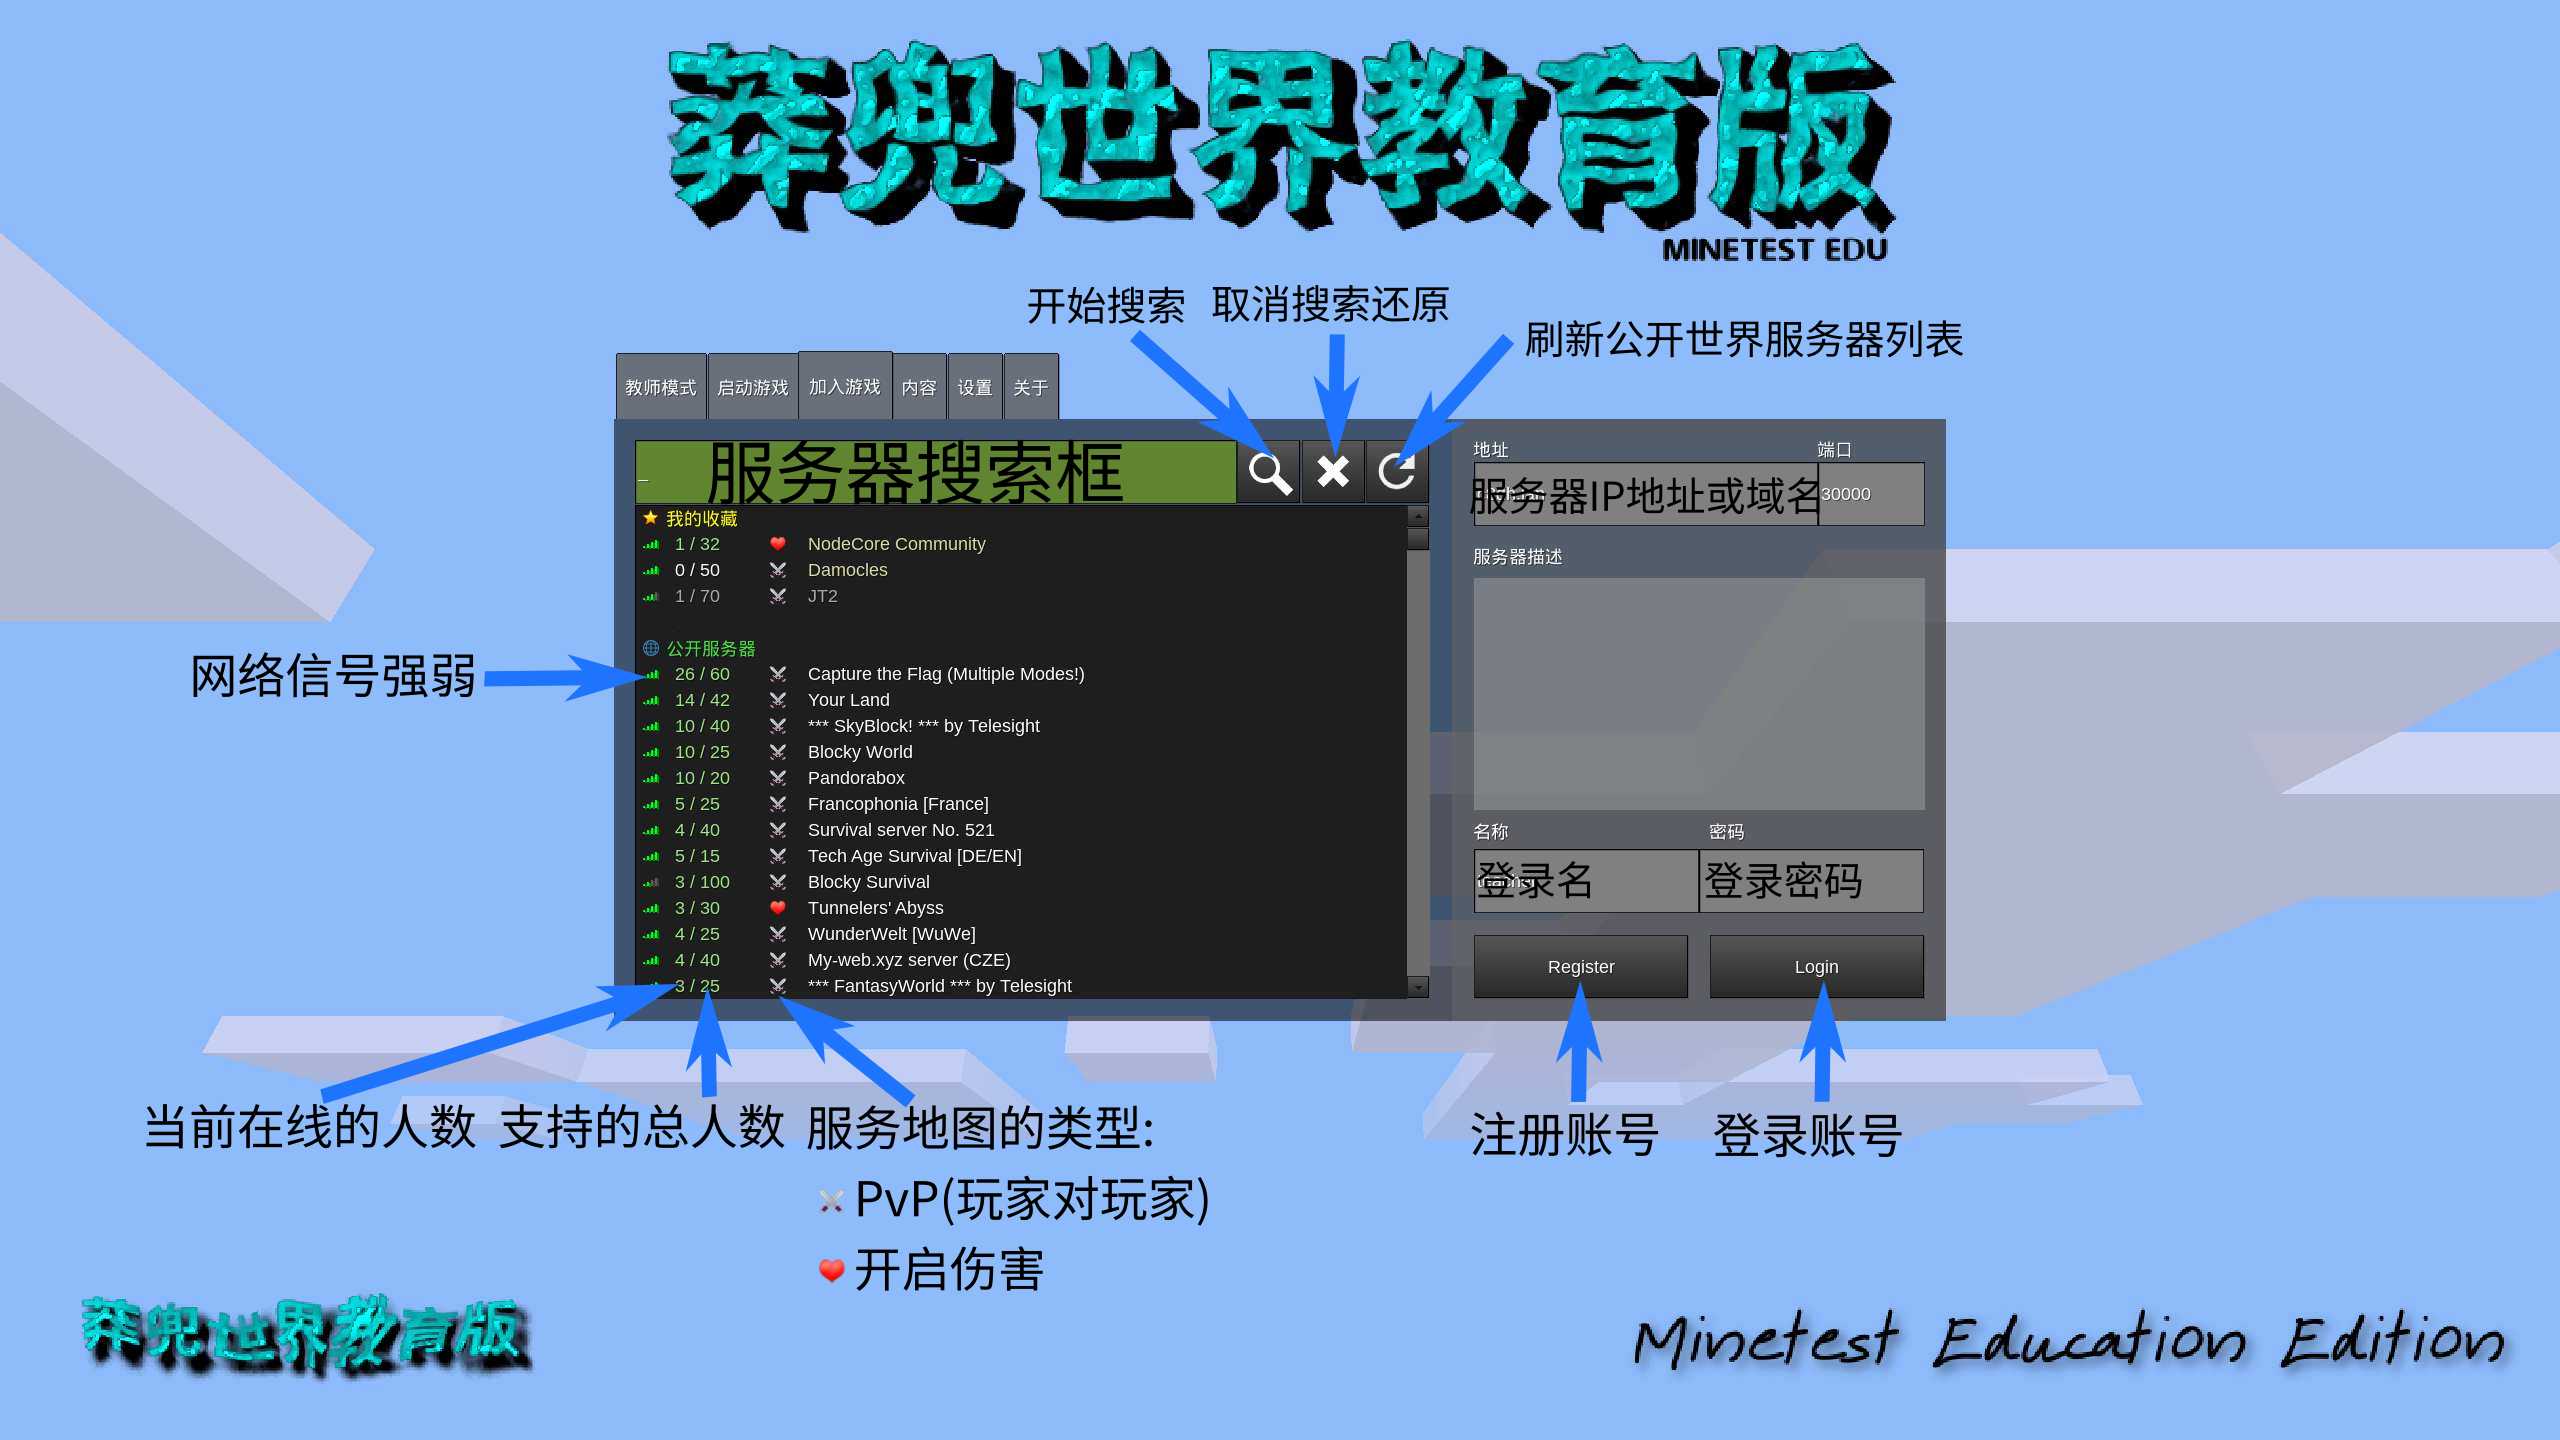
Join Game
Here you can join a multiplayer game as a teacher.
Joining the server for the first time
After entering the server address and account name, you must click the Register button to register the account first.
Note
In the future there should be a public course world server dedicated to education
Content
Installed content is managed here.
content font color meaning
- 🫐The blue font is the sub-game content
- 💚The green font is the content of the texture pack
- 🤍The gray font is the content of [Mod Pack](./README.md#Basic Concept)
- ■ The white font is the mod content
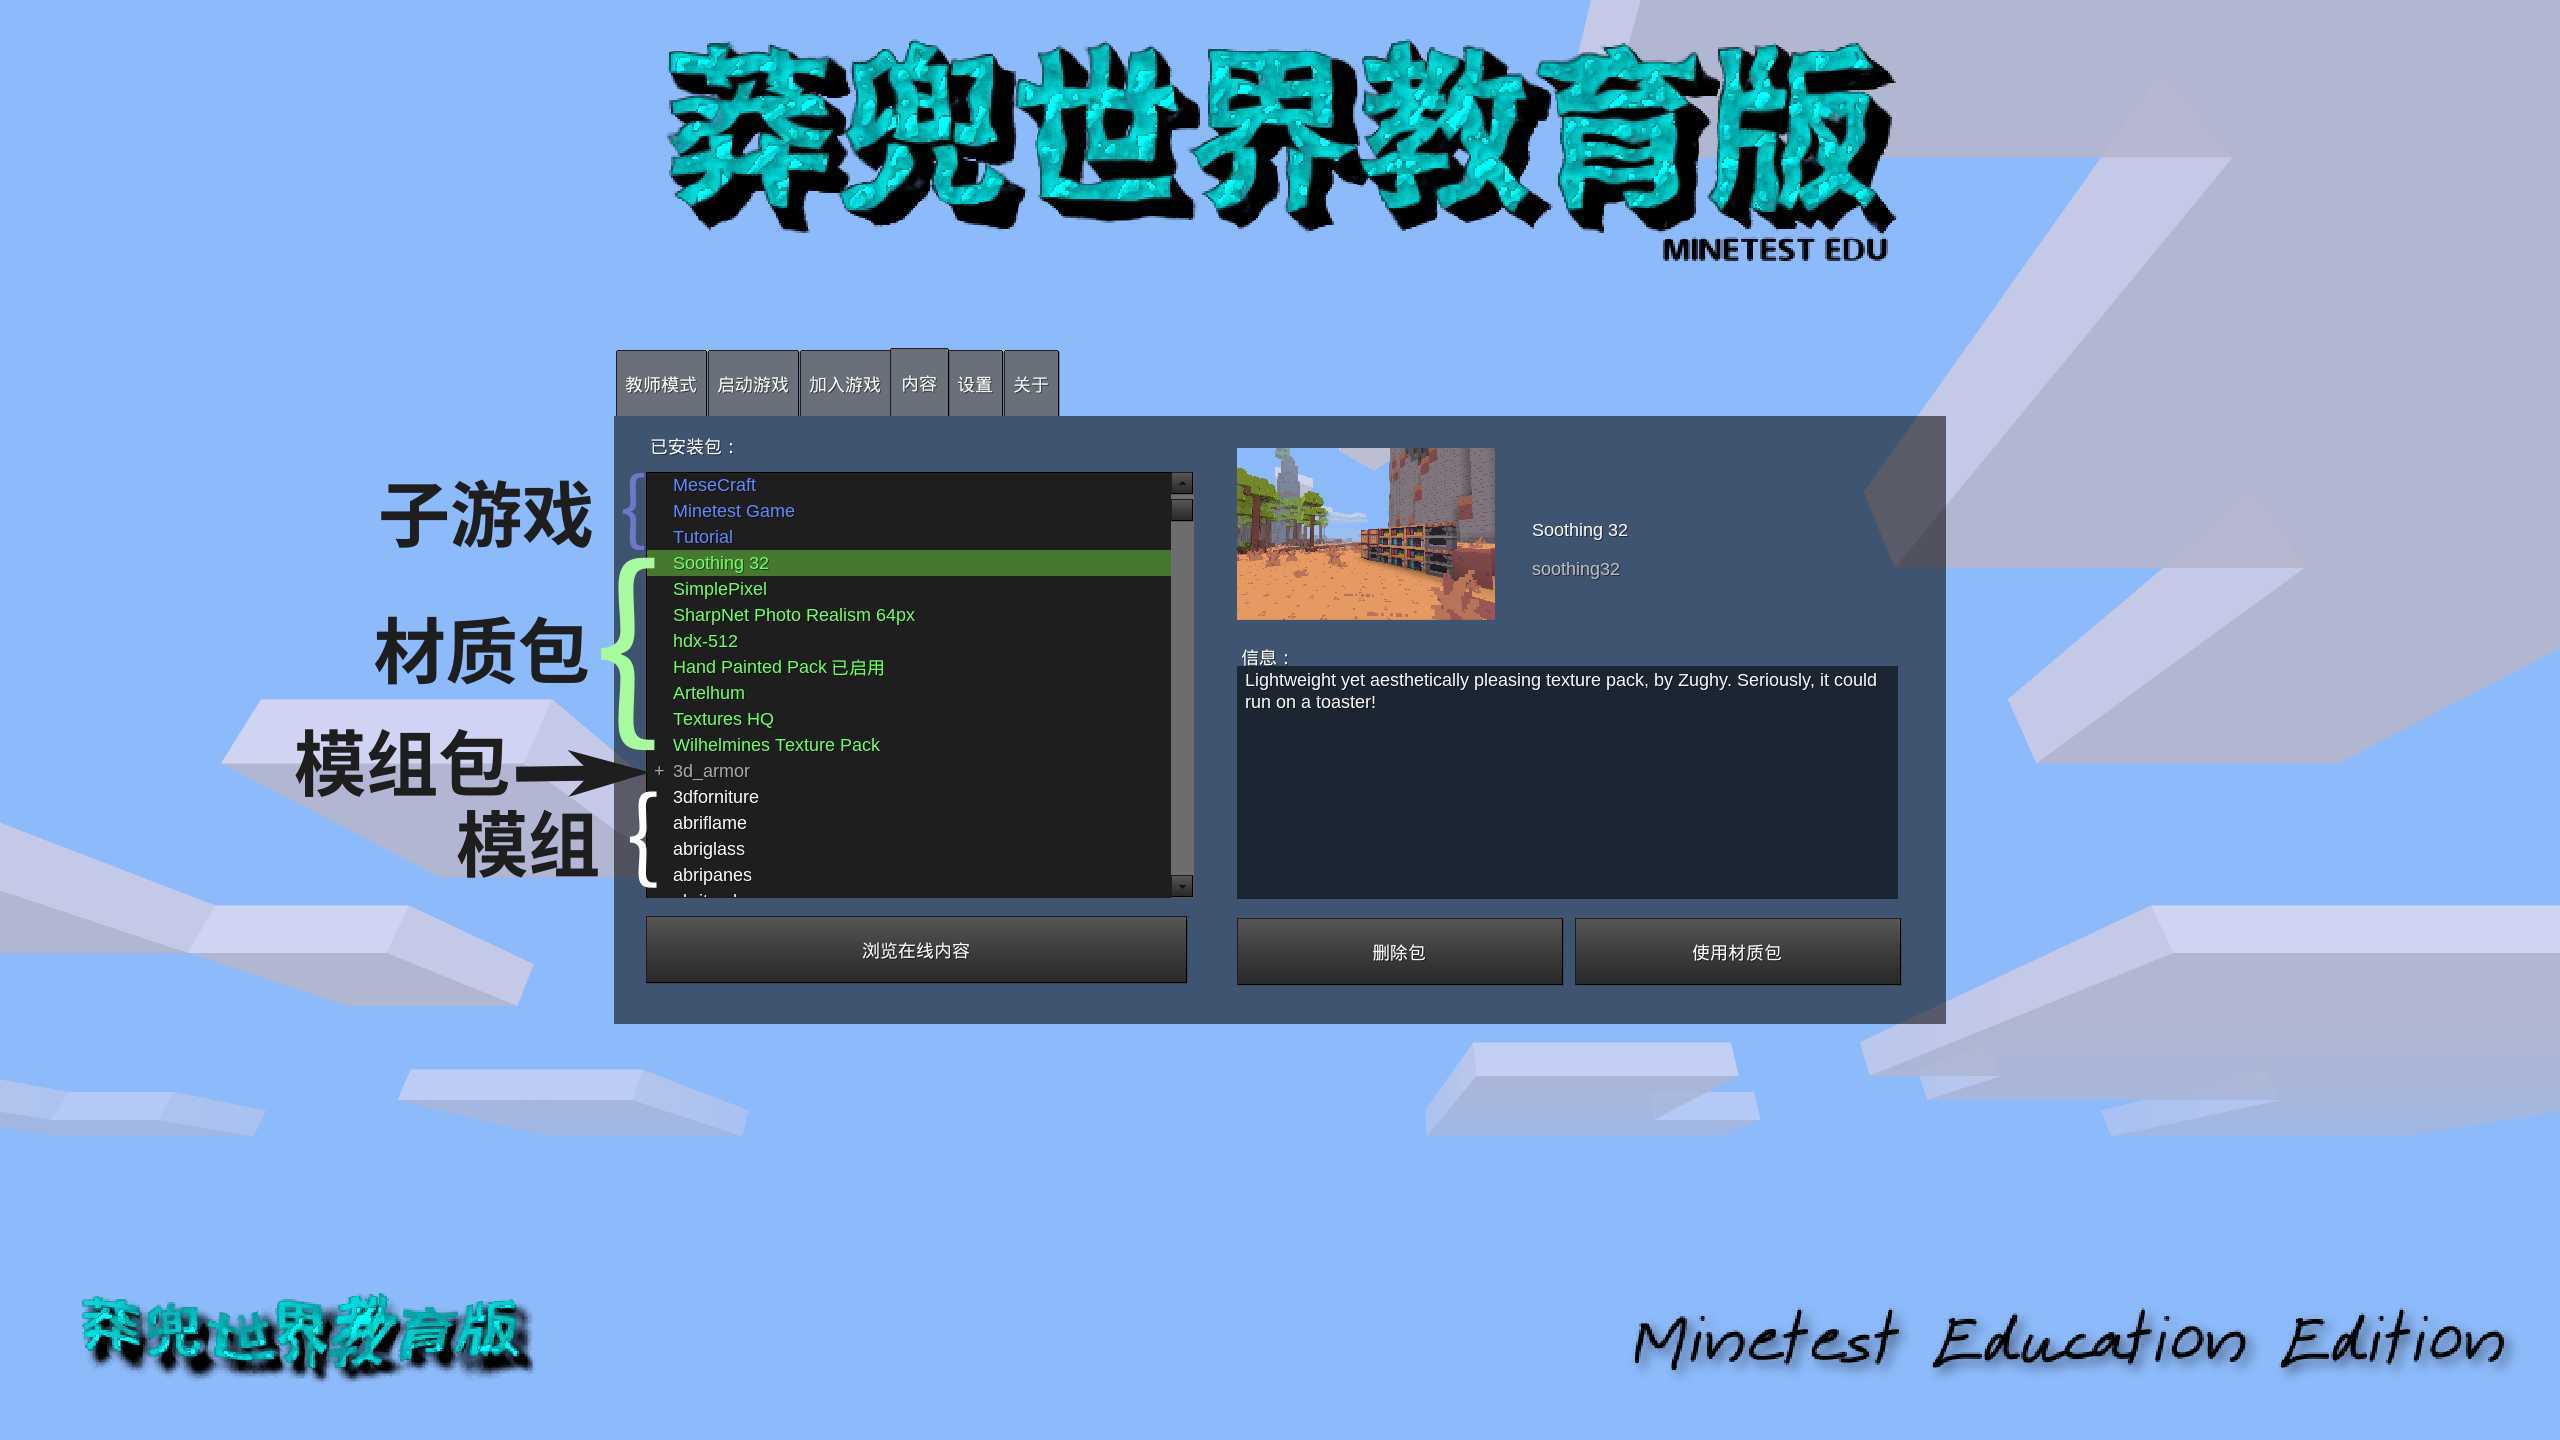
Browse Online Contentbutton: You can browse and install online contentDelete packagebutton: delete the selected local installation contentUse texture packbutton: After selecting the content of the texture pack in green font on the left, click this button
Configuration
Set according to the capabilities of the computer/mobile phone/tablet.
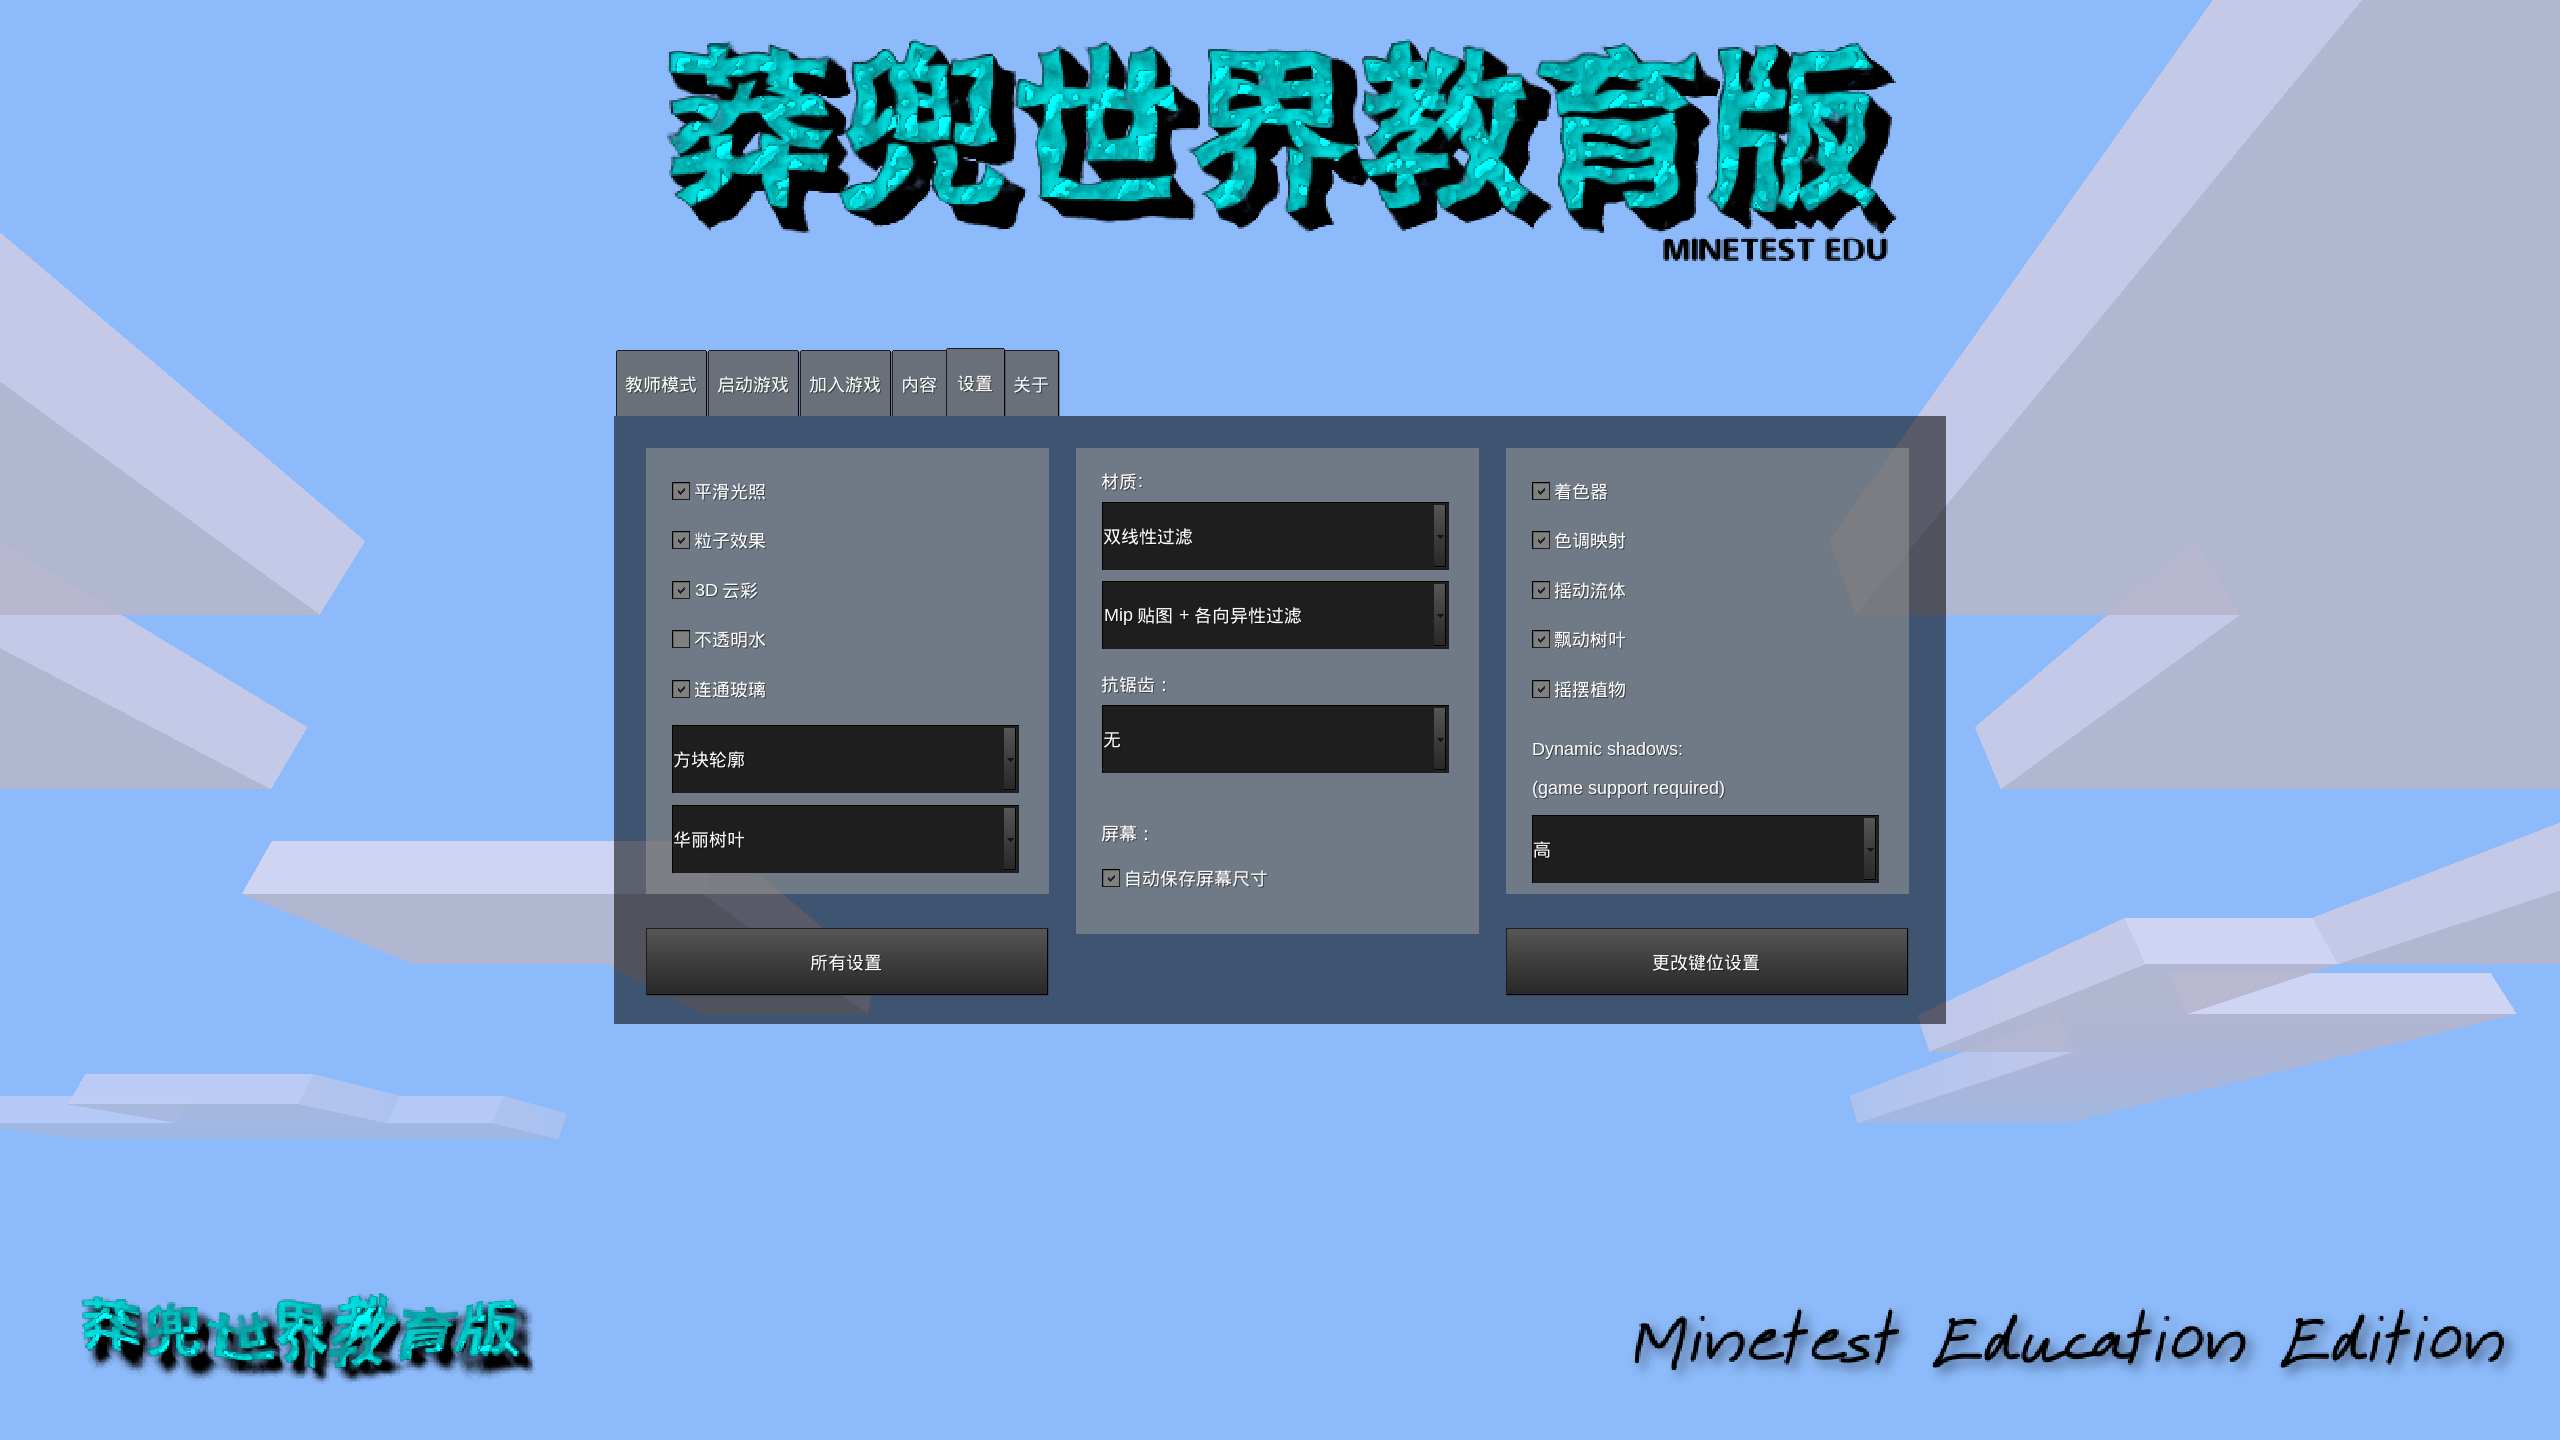
- If the machine configuration is very low, you can turn off
3D CloudsandSmooth Lighting, selectSimple Leavesfor leaves, disable all material options in the middle, and only keepShaderfor the options on the right, and disable all others; - If it is a medium machine configuration, you can turn on the rightmost option, and the middle material option can turn on "
Mip map" to try it out, and the right option can be tried by yourself; - If the machine configuration is high, it can be set casually;
- Note: After enabling
Dynamic Shadowsoption, sub-game support is also required
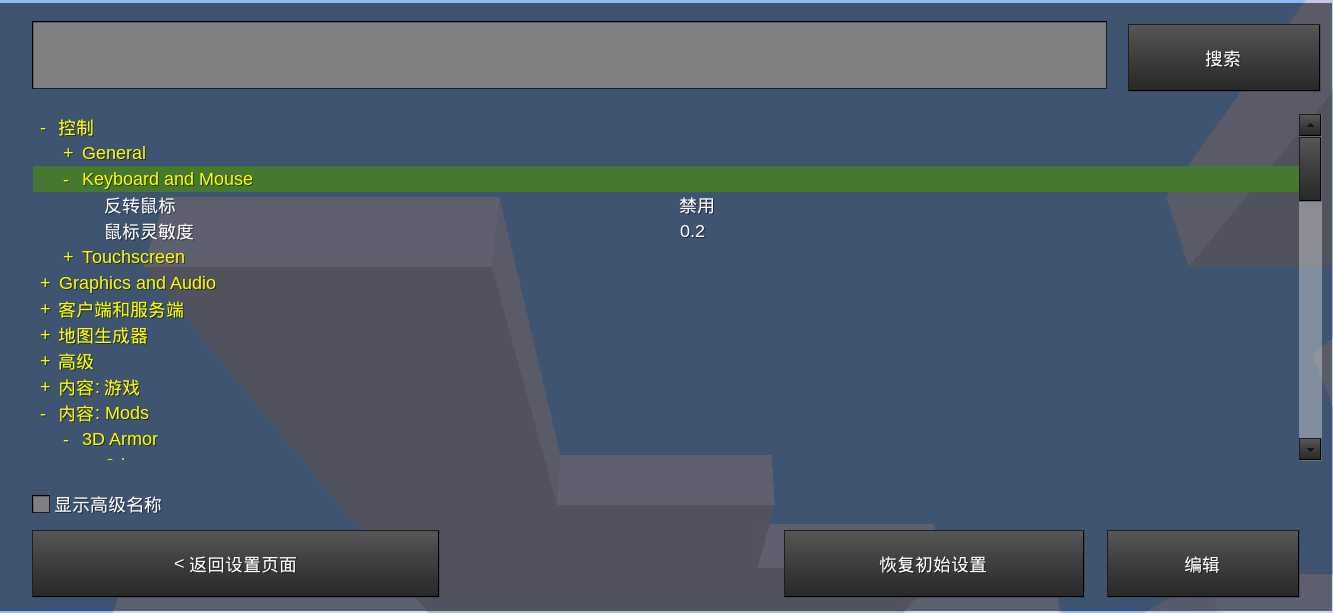
Click the "All Settings" button to modify all advanced configurations including sub-games and mods
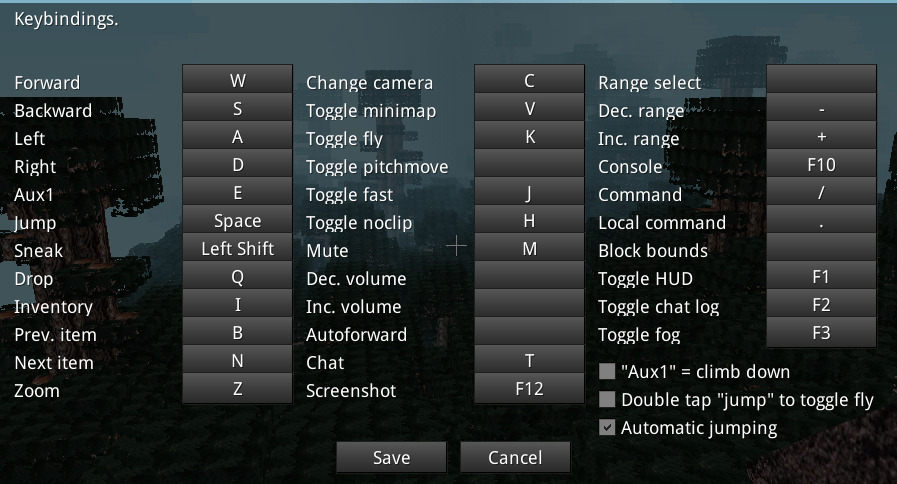
Click the "Change key settings" button to modify the keyboard binding control settings